What if you want to make screen prints but you don’t have access to a darkroom? That’s totally ok! In this post I’m going to share lots of options to make simple screens for easy printing at home or in the classroom.
These are methods I teach in my beginner screen printing workshops and have had a lot of experience and success with (here’s the little 2-sided zine about them I hand out — feel free to print it for yourself). The options are:
Drawing fluid & screen filler
Paper stencils
Masking tape & stickers
Flat objects
Painting in the screen
Drawing fluid & screen filler
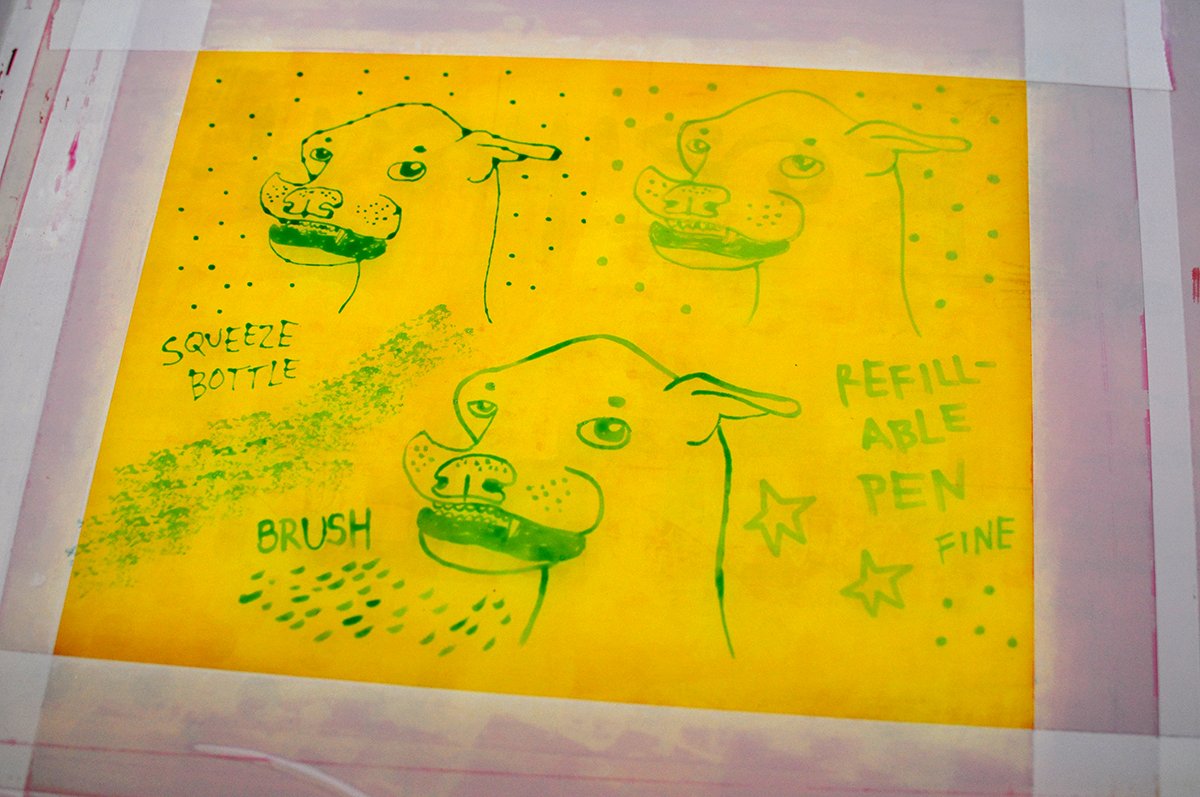
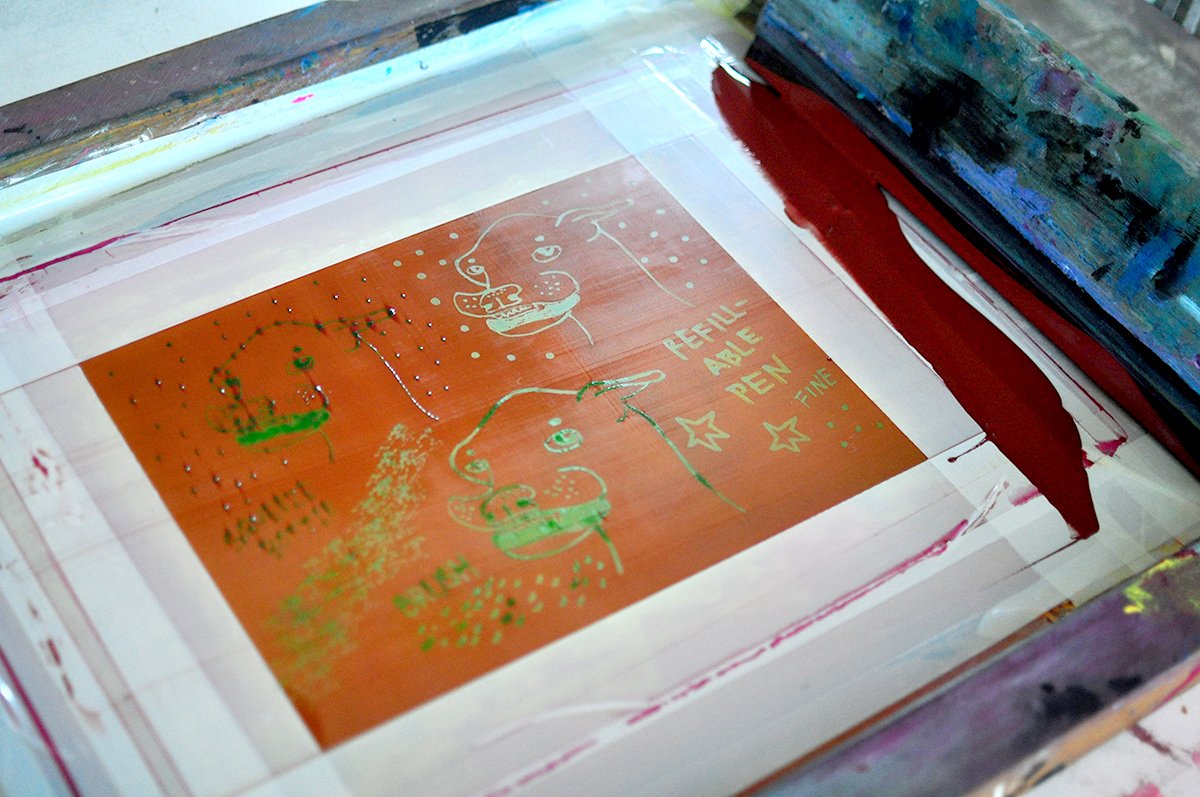
I wrote extensively about this method in a previous post, so I recommend you check that out to get the scoop on making screens with drawing fluid & screen filler. The short of it is, Speedball’s drawing fluid & screen filler are two fluids that are applied to the screen with a brush or some other utensil (more in that linked post!). They are accessible and affordable and available at art supply stores like Blick.
The blue drawing fluid is painted on first and acts as a resist to the red screen filler. It allows you to draw in the positive. You can also use only the screen filler and paint in the negative — basically paint the shapes you want to block ink.
Choose this method if:
You want to be able to change the image’s ink colors
You want your image to have finer detail
You want your image to have a drawn/painted look
Don’t choose this option if:
You want to be able to quickly change out images — you will also need Speedball’s screen cleaner and a power washer to clean the screen filler out of your screen
Paper stencils
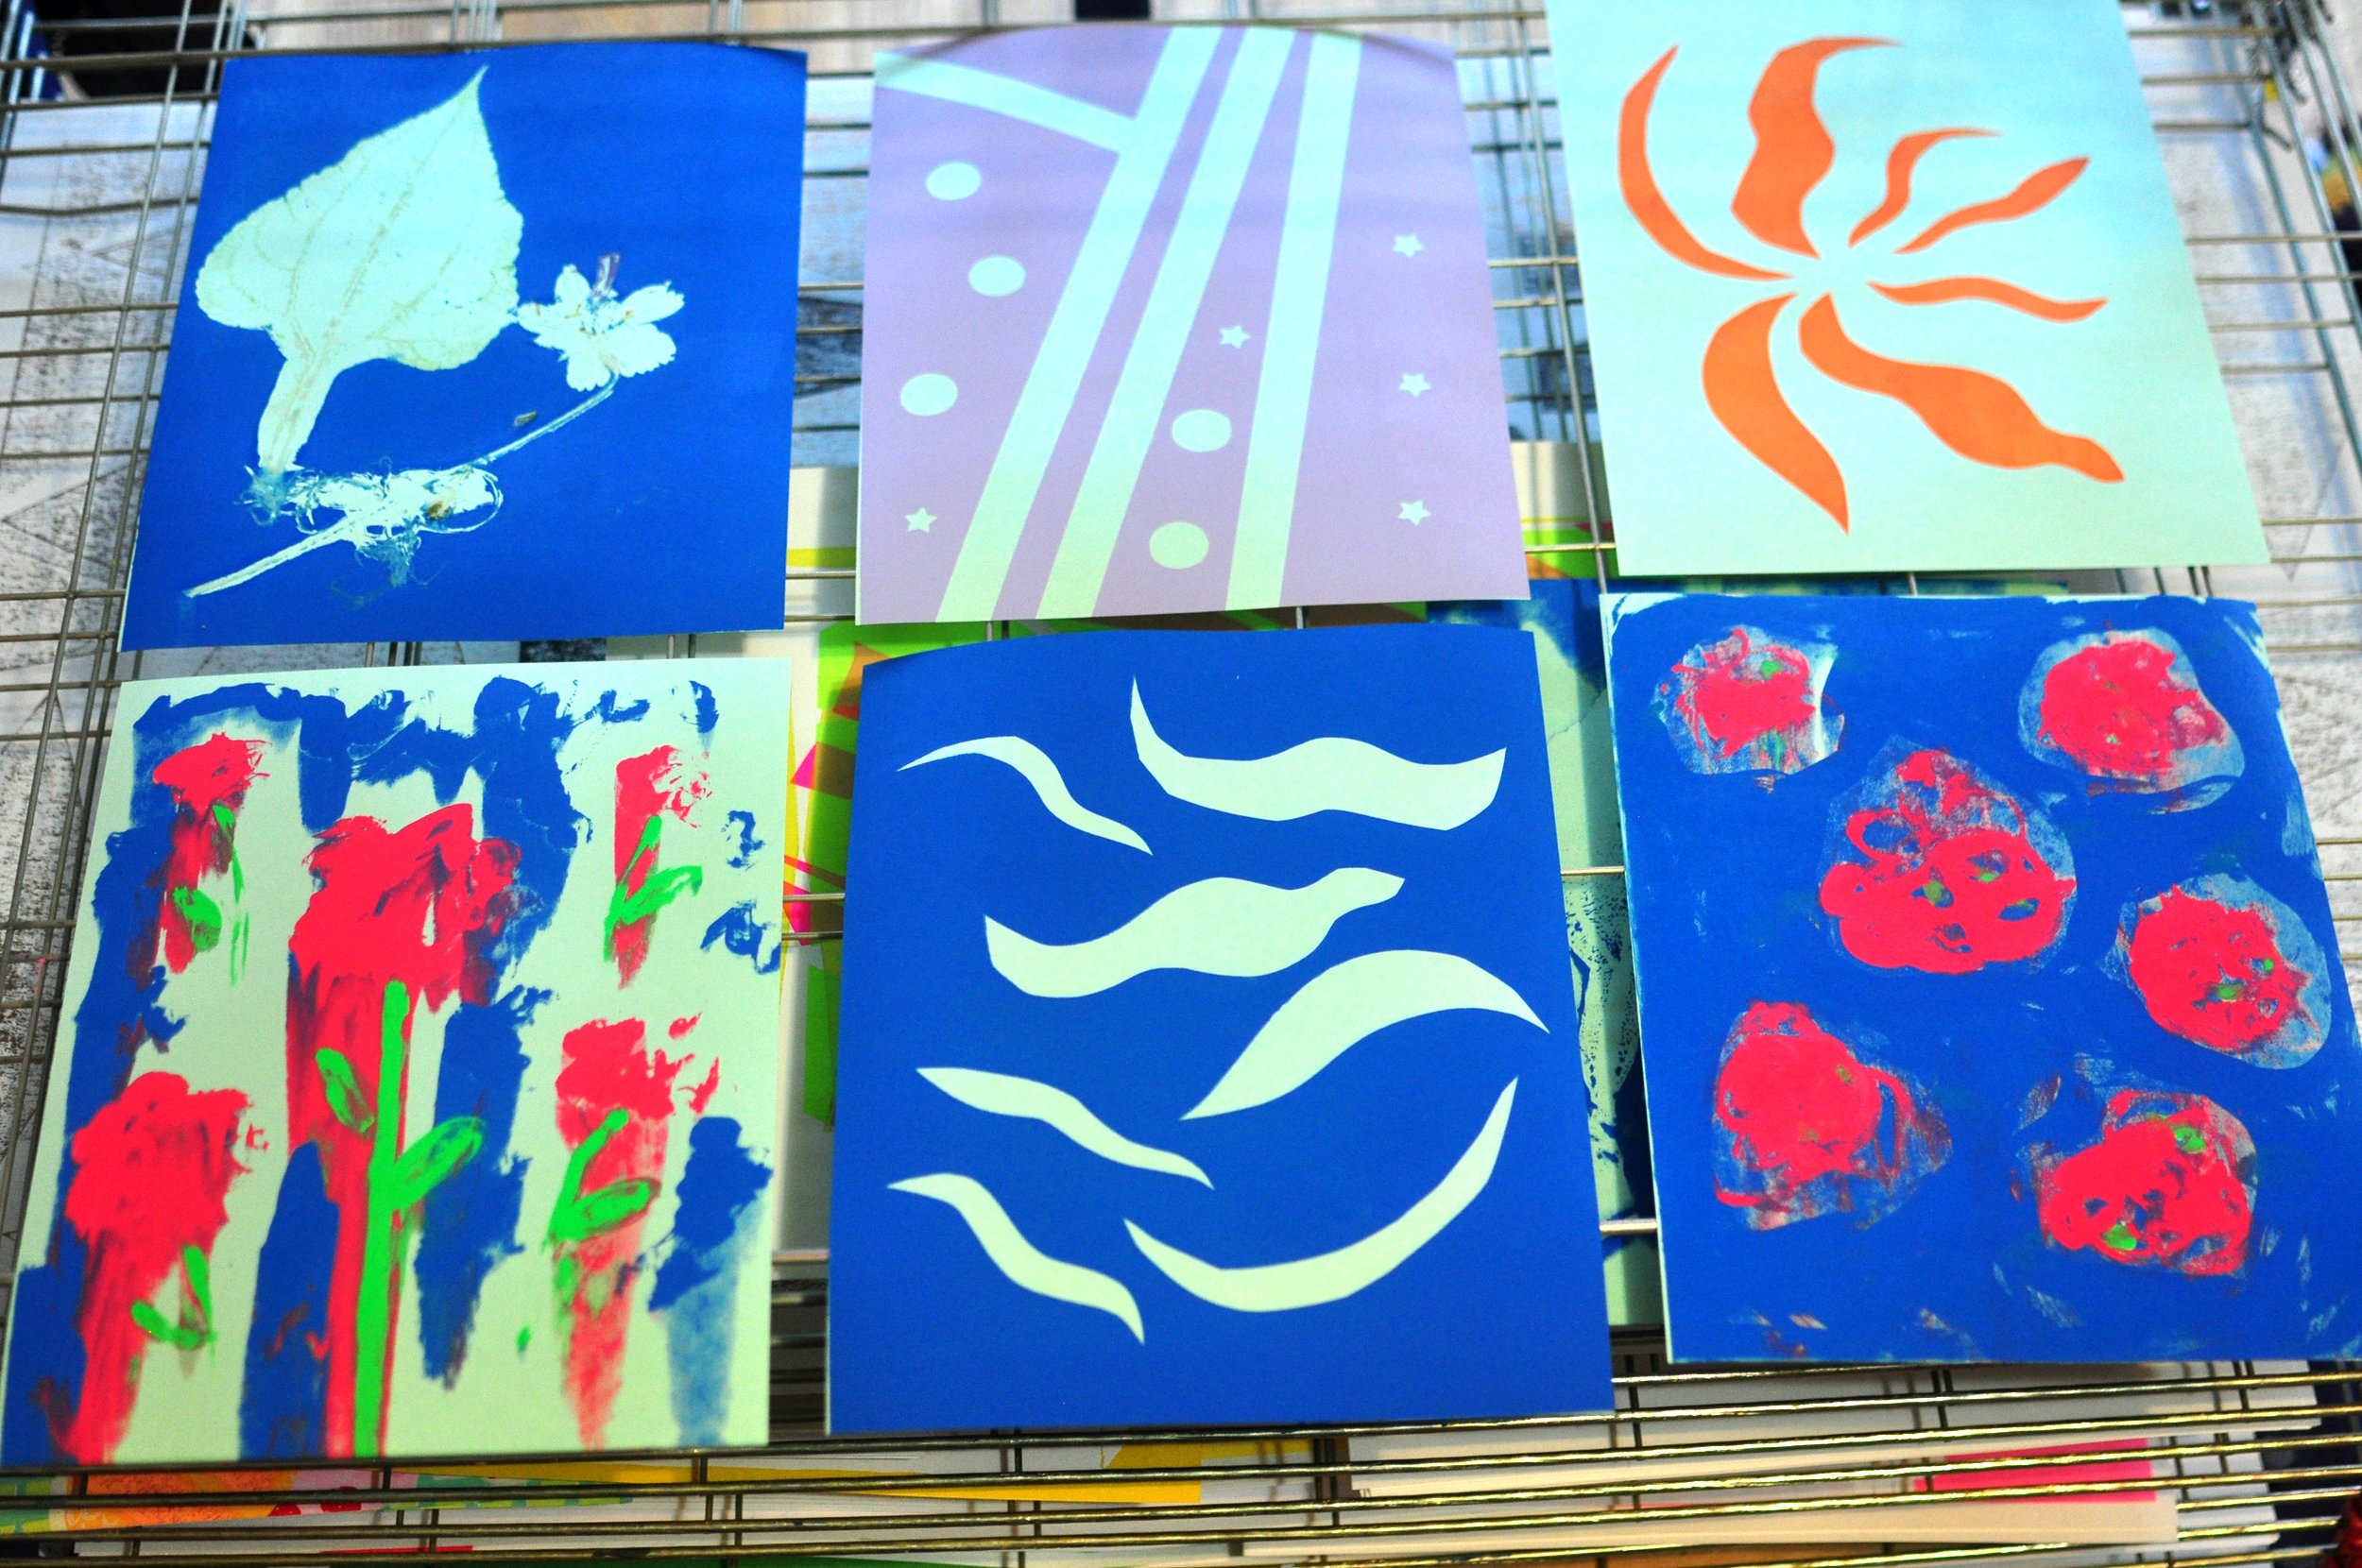
Screen printing in general is a stencil process, so you can also use paper stencils to make your screens. The paper stencils can be as simple as cutting out big graphic shapes with scissors or x-acto knife, to something like the elaborate paper cuts by Nikki McClure. Basic office paper is the perfect weight for this because it holds up to the ink but isn’t too thick to print over, allowing for crisp edges.
You can use both the cut-out sheet and the little pieces cut out to print with. You place the paper on the paper you want to print on, flood and print your screen, and the ink acts as a glue to keep the paper stencil on the back of your screen.
Choose this method if:
You want to be able to quickly change images in your screen — you just peel off the paper and rinse the ink out of the screen
You want bold/graphic images
Don’t choose this method if:
You want to be able to change the image’s ink colors — you won’t be able to wash the ink out of the screen without ruining your paper stencil
Masking tape & stickers
You can use masking tape and thin stickers to create images, too — apply them to the back of the screen so you don’t run your squeegee over them. Masking tape comes in tons of widths (even super super super thin), so you can get surprisingly creative with this method.
I once taught this method in a youth screen printing class, and it created the perfect background layer for text that was added later (we combined it with paper stencils).
Choose this method if:
You don’t want to use scissors or a brush to make your image
You want to be able to quickly change images in your screen — you just peel off the tape and stickers and rinse the ink out of the screen
You want bold/graphic images
Don’t choose this method if:
You want to be able to change the image’s ink colors — you won’t be able to wash the ink out of the screen without the tape and stickers losing their stickiness
Flat objects
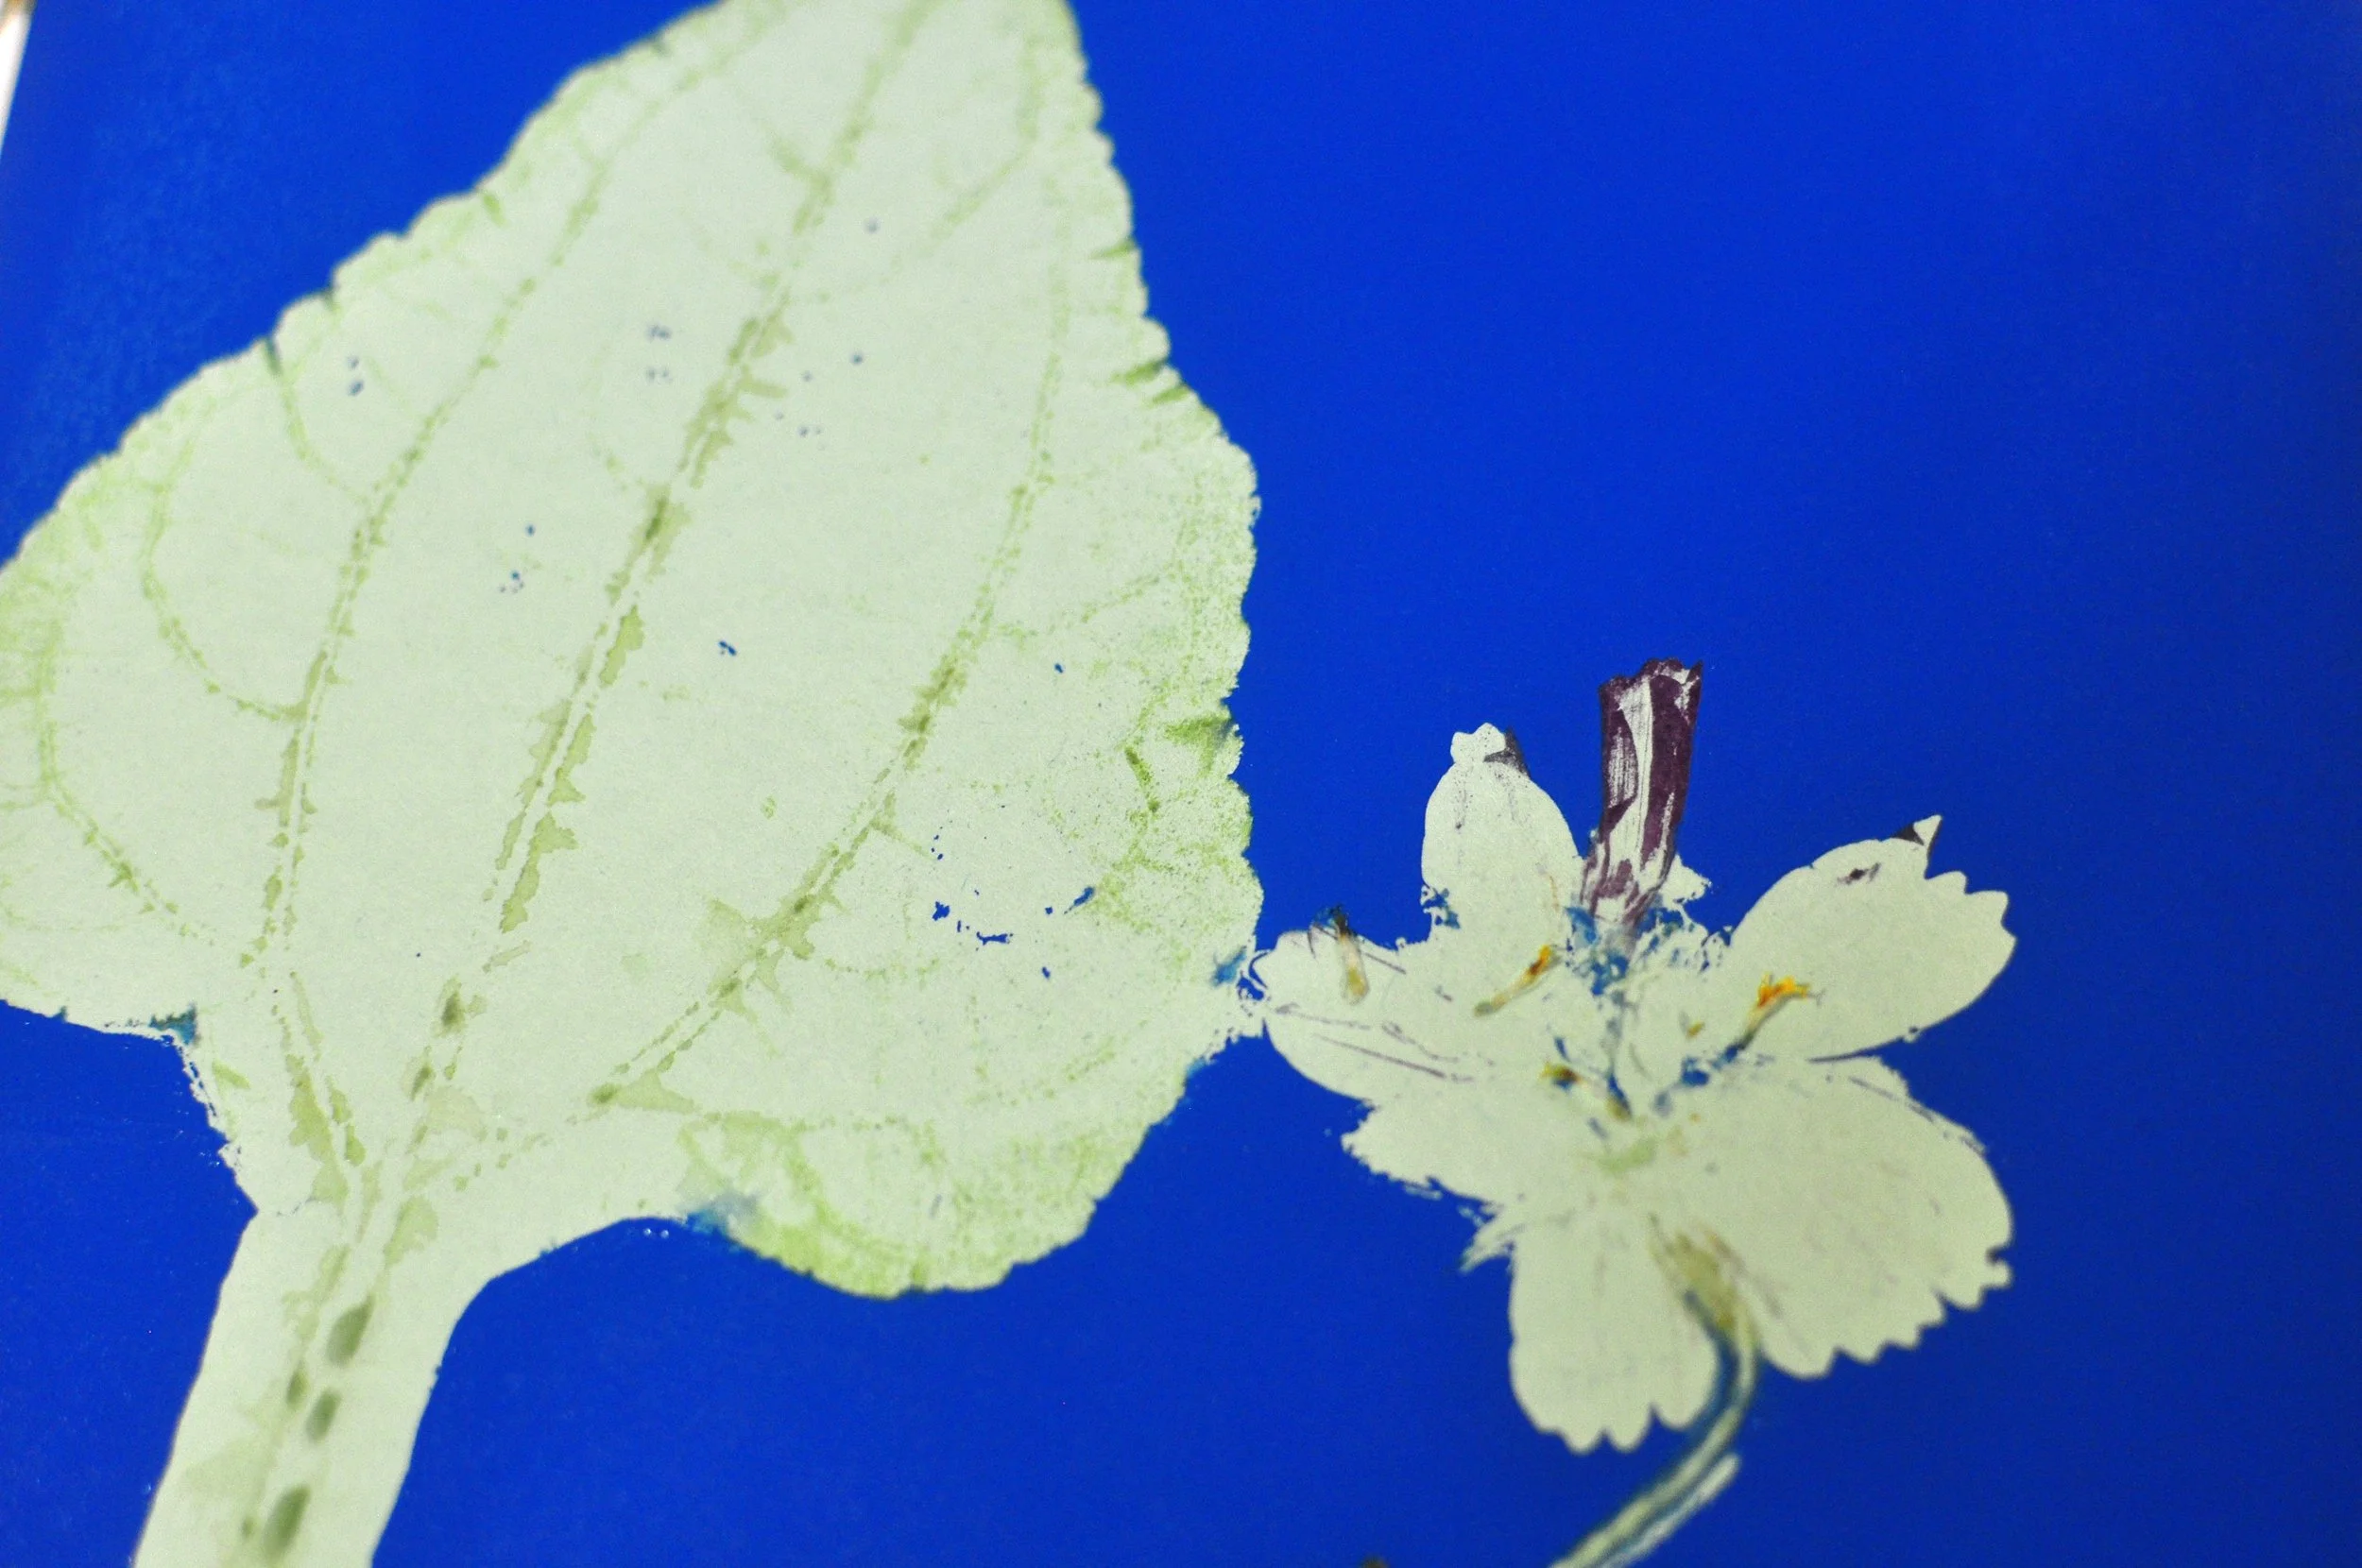
Screen printing is all about letting ink through the mesh in some areas and blocking it in other areas, so you can use anything flat to create your image. In one of my workshops, we gather leaves and flowers from outside and make prints with them. The flatter the better in terms of results — and you can try to flatten the objects before printing by using a flower press or clamps between two pieces of wood for better success.
Just like the paper stencil method, you lay the objects on the paper you’re going to print on, flood, and print, and the ink acts like a glue, sticking the objects to the back of the screen.
Interesting things can happen with leaves and flowers, like the pressure of printing can squish out the plant’s pigments onto your print.
Choose this method if:
You like experimenting
You want to be able to quickly change images in your screen — you just peel off the objects and rinse the ink out of the screen
Don’t choose this method if:
You want to be able to change the image’s ink colors — you won’t be able to wash the ink out of the screen without the objects also washing off
You want a sure path to successful printing — this method can have mixed results
You want a long print run — the objects might start to come off the screen after a handful of prints
Painting in the screen
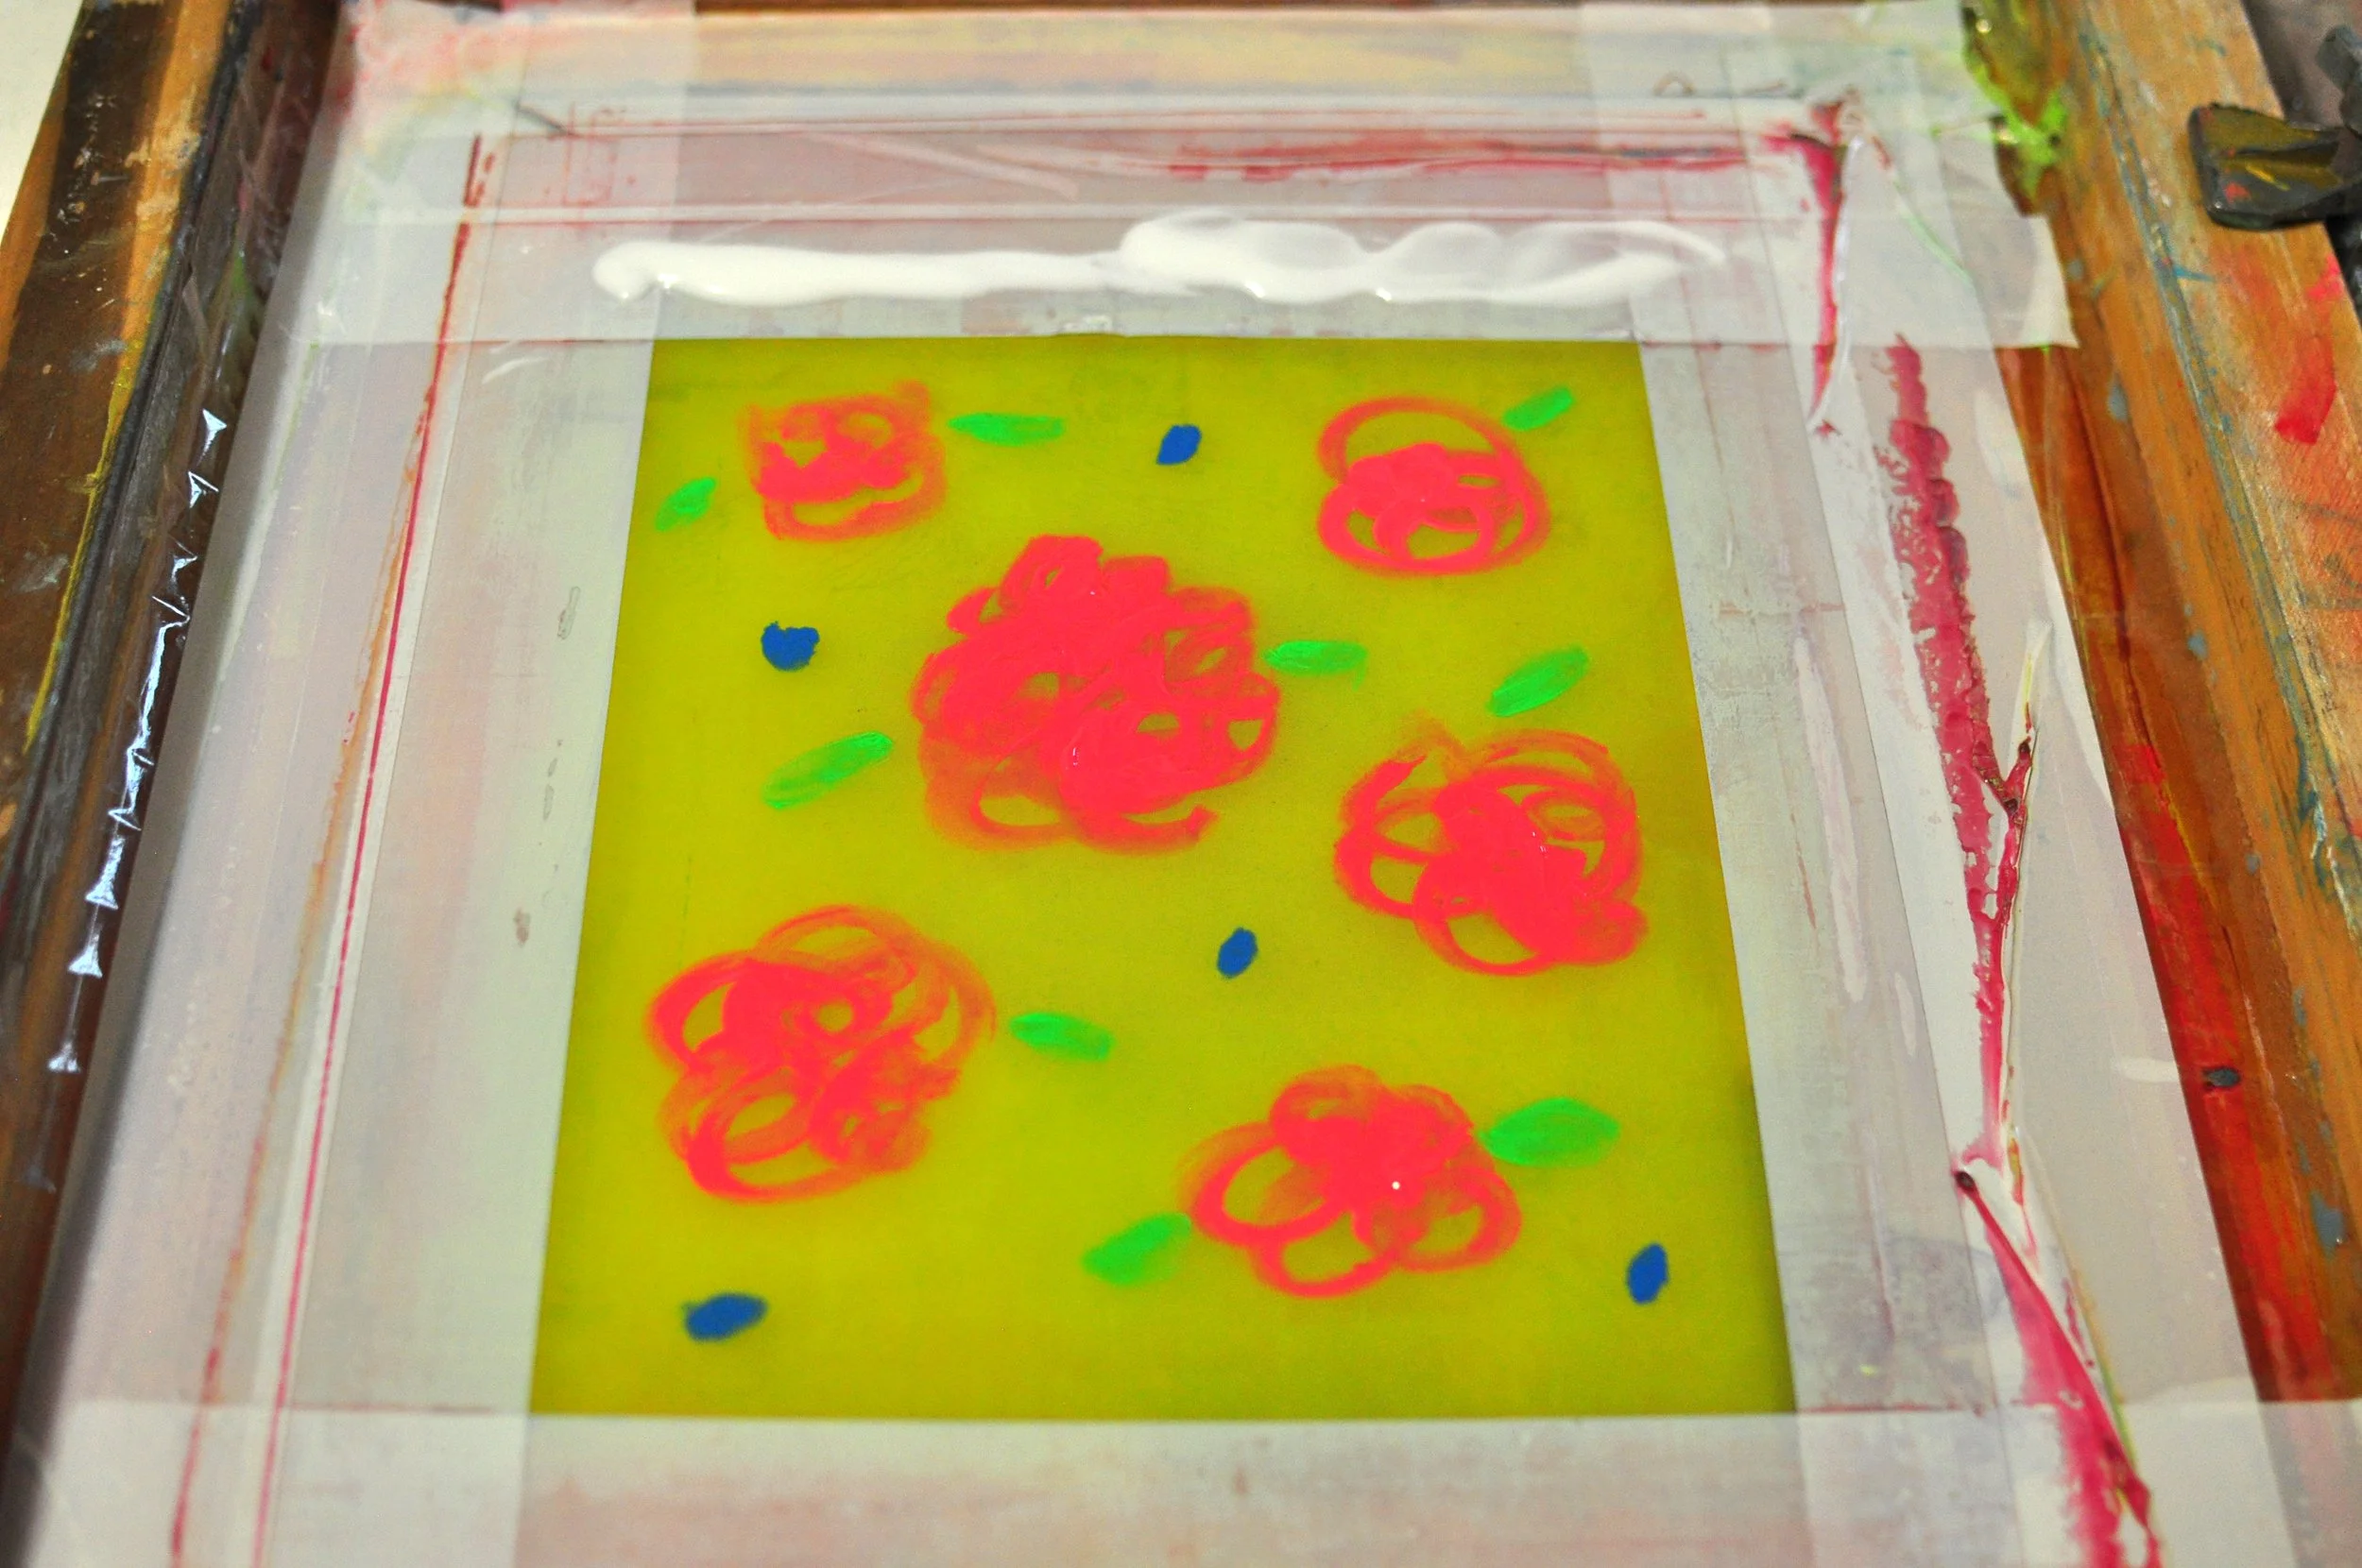
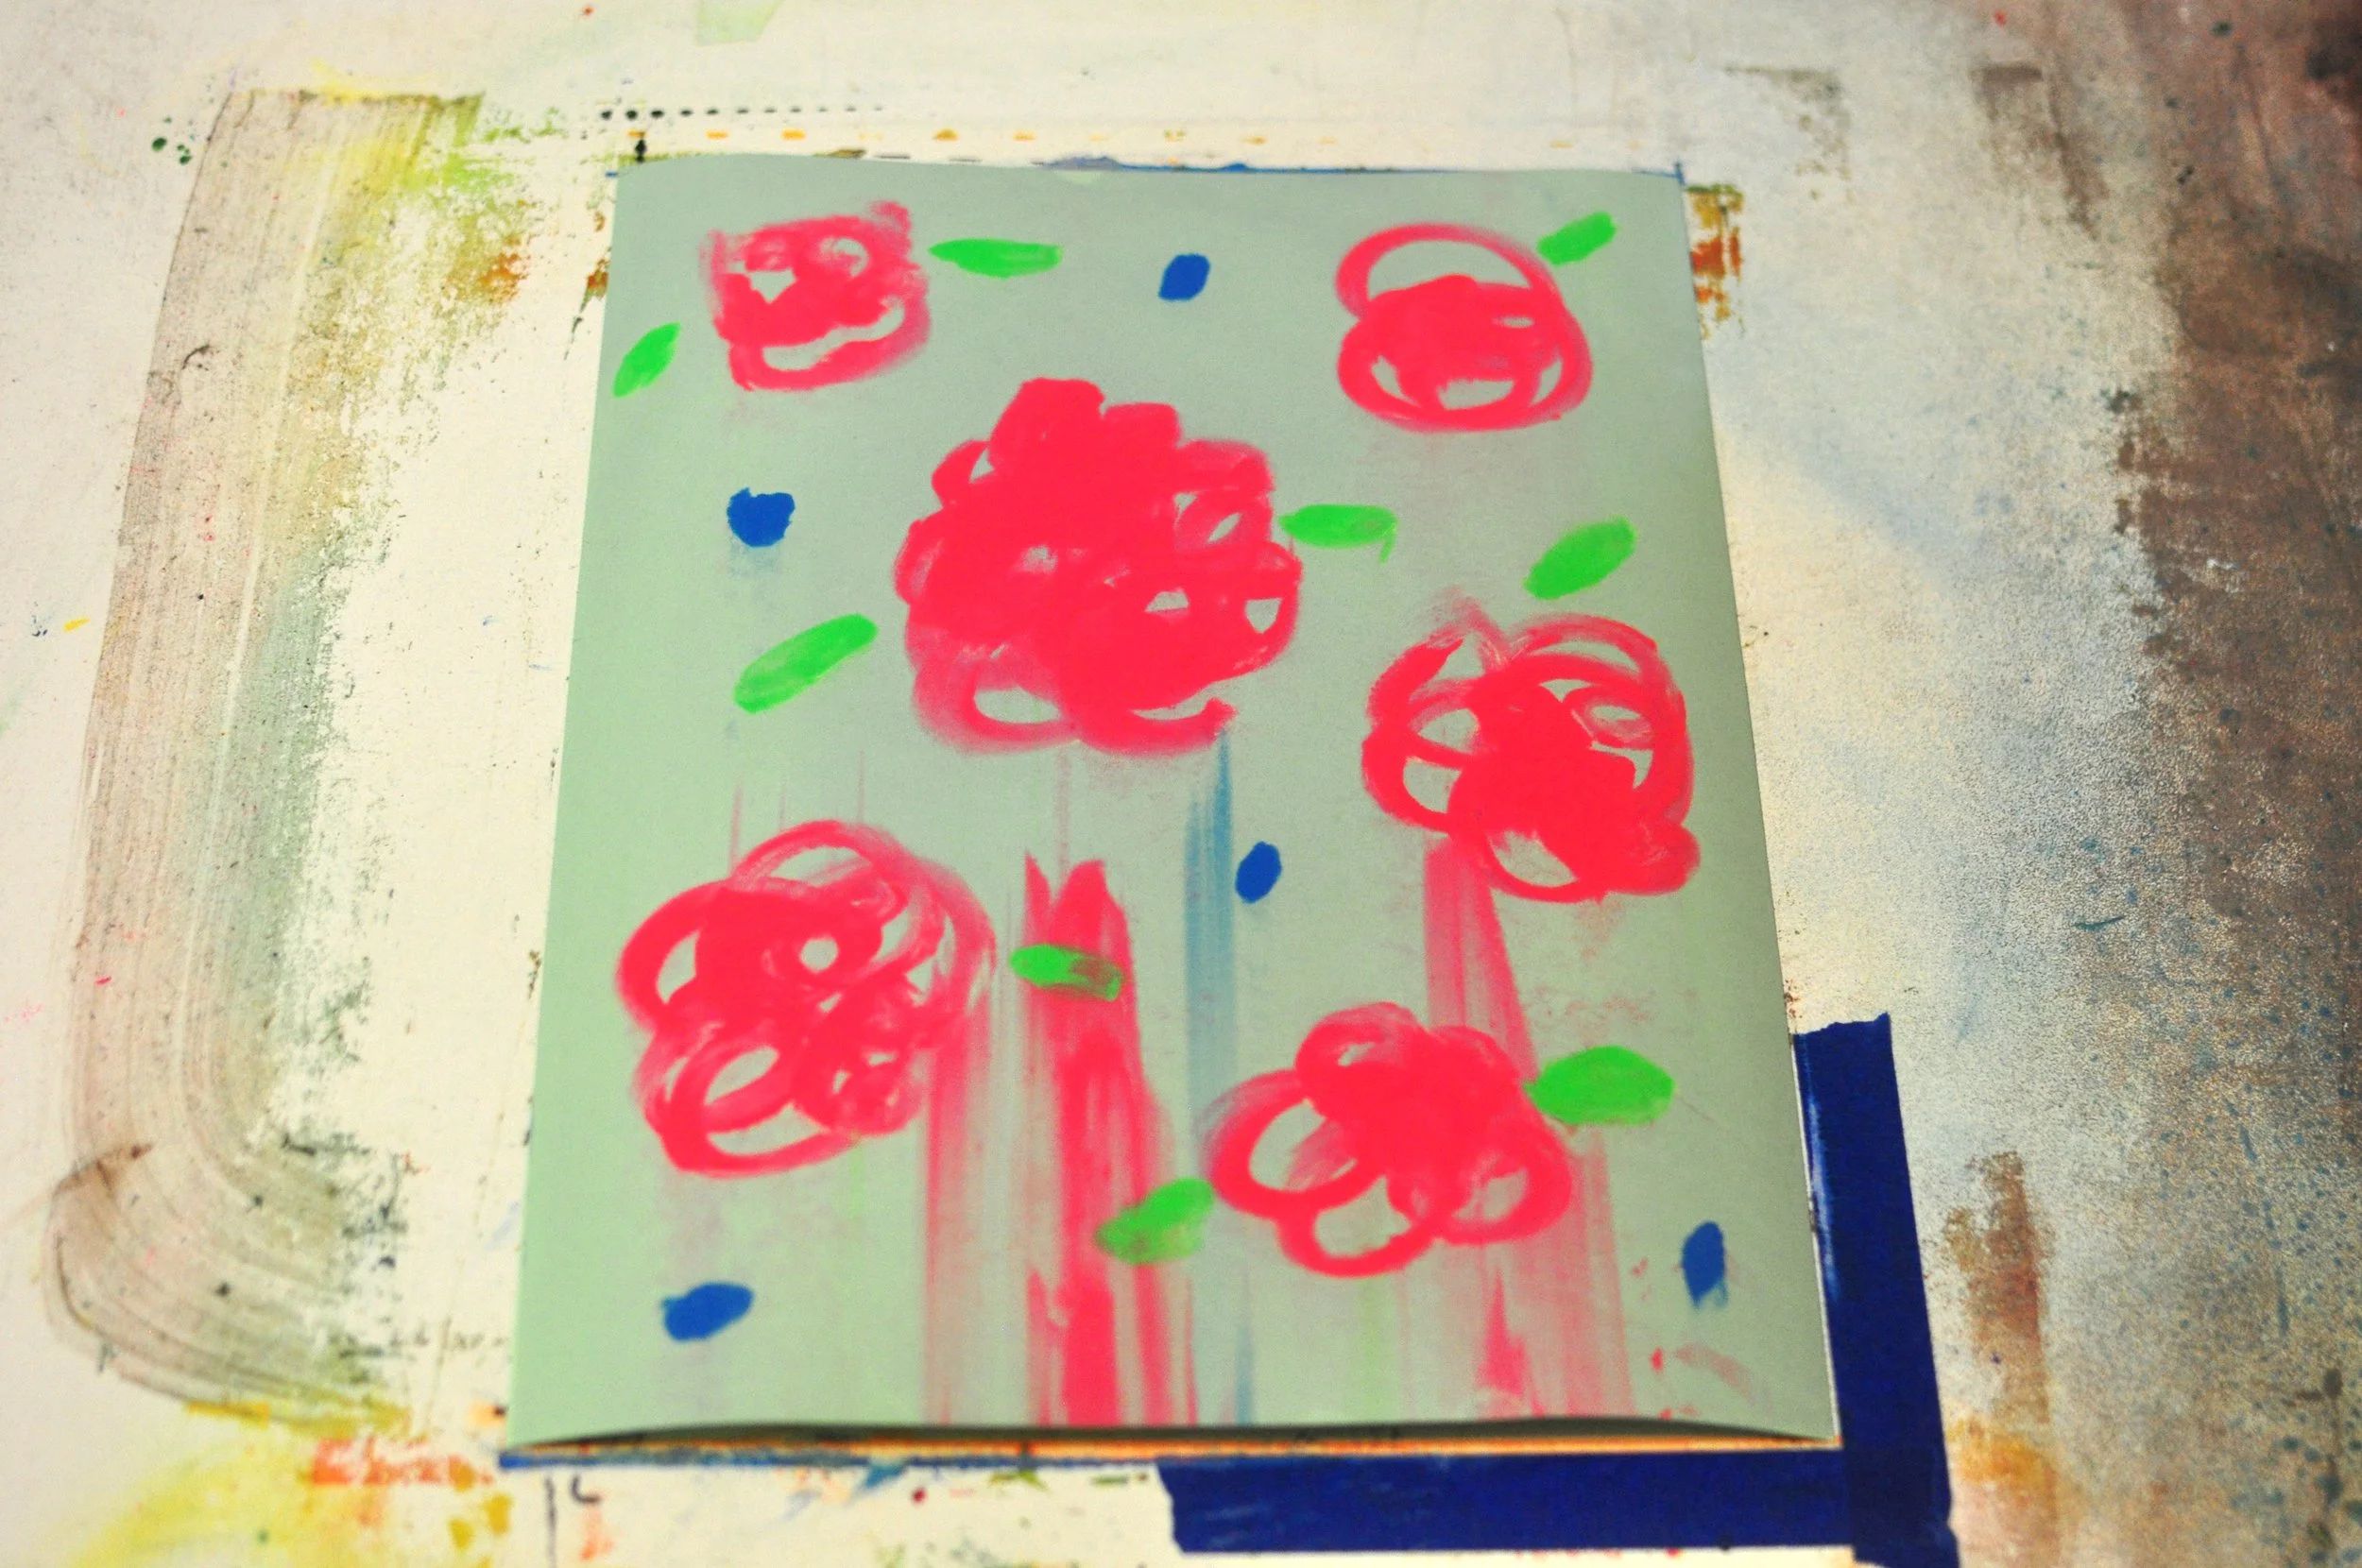
You can also print using just a screen and ink (or paint!) + brushes by painting directly on the screen and printing the painted image! This body of work by Valeska Hykel is a good example of this method. Because you will have to reapply your ink/paint with every print, you will be making monoprints and each one will be one of a kind.
This method tends to produce the drawdown smears you see toward the bottom of the print, so if you aren’t into that, you might need to do some extra planning and experimenting to get best results. Covering the entire image with ink/paint could alleviate this issue.
Choose this method if:
You like experimenting
You’re a painter! Or you like painting
You want to be able to quickly change images in your screen — you just rinse the ink out of the screen
You want each print to be one of a kind
Don’t choose this method if:
You want a sure path to successful printing — this method can have mixed results
You want a long print run — you have to reapply the ink/paint for every print, so each print you make will be a monoprint
So there you have a bunch of non-darkroom options for creating screen printed artwork at home or in the classroom! Hopefully this has sparked some ideas for your next (or first!) print run.

