Hello Internet! There’s been a lot of progress in the upstairs print studio (which I will share soon), and I’m jamming to finish the print run this week. But today I have two practical screen printing tips for you, inspired by the printing of the first two layers of this Jell-O print run!
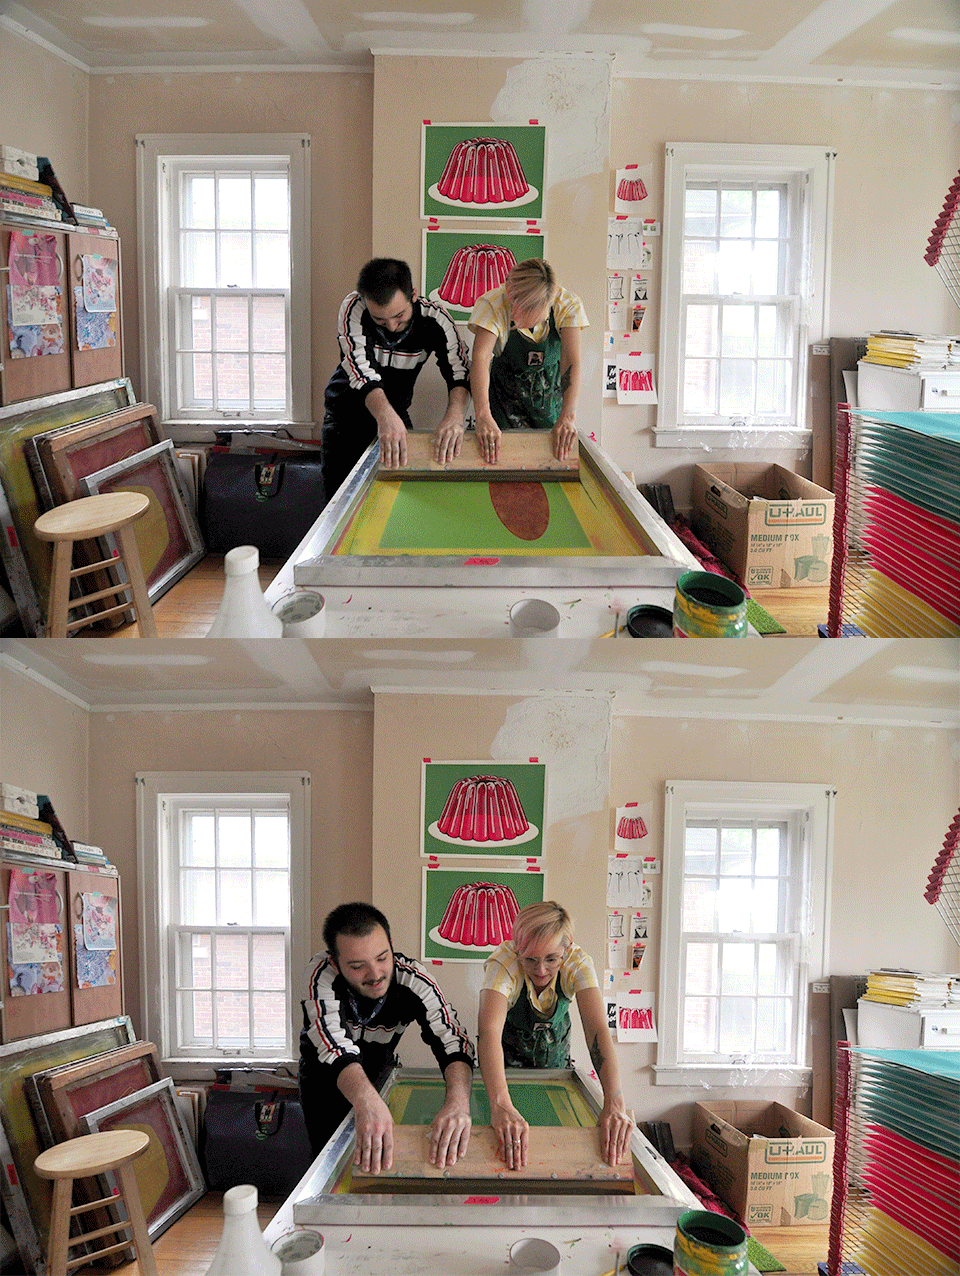
Printing with my nephew!
Tip #1: Sometimes you need a buddy
Sometimes the squeegee is too long to pull by yourself, and you need a buddy to help you print. This was the case for the background layer of this print run, which is almost entirely an 18” x 24” field of edge-to-edge ink coverage. I couldn’t press it out on my own, so I hired my nephew to help me pull the 24” squeegee. There’s another reason this layer was hard to print: the screen is a little too small for this image, which leads me to tip #2.
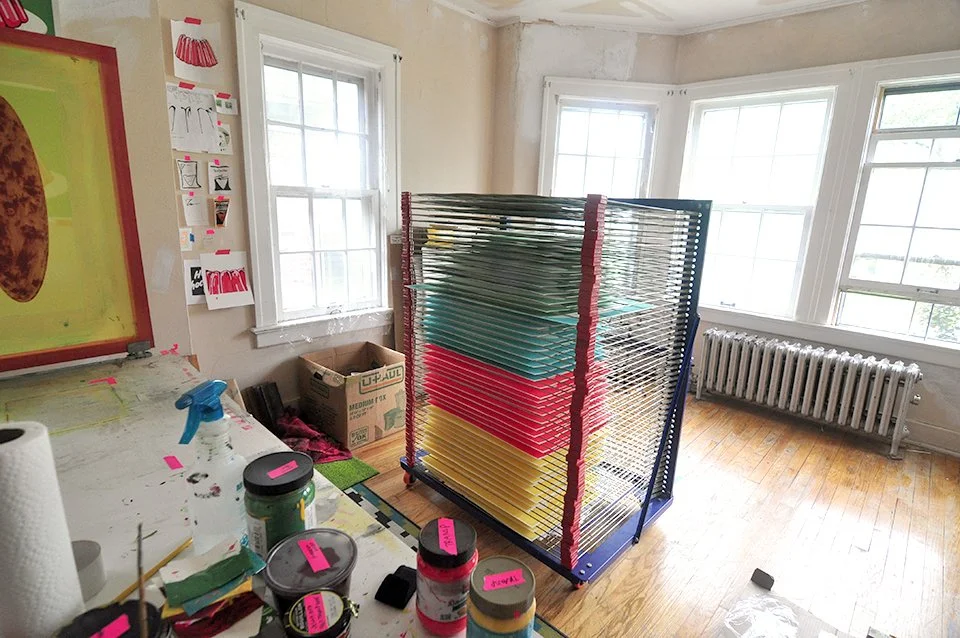
The screen for the second layer — the image is way too close to the edges of the screen!
Tip #2: Sometimes you need a bigger screen
You want at least 3” of space between each side of your image and each edge of the screen/frame, otherwise when you’re printing you’ll be fighting against the tension where the mesh is glued to the frame. Ink is harder to press through the screen the closer you get to the frame, so the more distance you have there, the easier it will be to print. The screen for the second layer (seen above) is way too small for this image, but I ran out of big screens, so I made it work. It didn’t help that this is a 305 mesh screen, which is pretty tight and means even more pressure is needed to press the ink through.
It’s tough because bigger screens come with bigger price tags, and the instinct is to be economical and cram as much as you can into your screen, but doing that is going to make printing a lot harder. It’s worth it to buy a bigger screen or to put each image in its own screen instead of cramming two images into one screen. Screen printing is hard enough as it is — don’t make it harder on yourself.
Hopefully these tips will help the screen printers out there. Stay tuned for updates on the Jell-O print run!


