AKA “Cedar Closet Darkroom”! Last week I made progress on putting together a screen printing darkroom in my basement, on a strict budget. It’s functioning now, and the out-of-pocket cost to get it going (not including emulsion) was $54.12. Here’s how I did it!
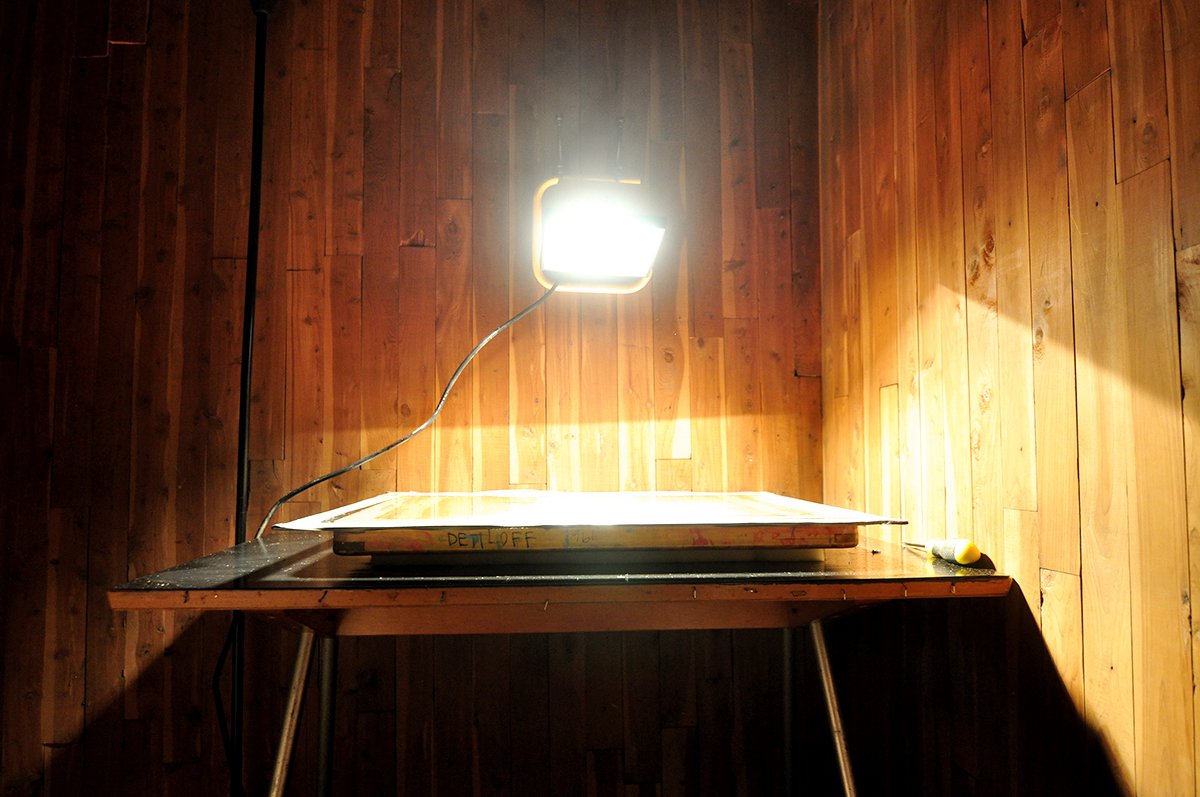
The lasagna from the bottom: table (painted black), then 2” foam, then black paper on the foam; then the coated screen, then the transparency, then a piece of glass. And a light shining down on all of it.
Typically for this kind of DIY exposure setup you are dealing with some sort of “screen printing lasagna.” The lasagna starts with a table (painted black or covered in black fabric to prevent light from bouncing around), then on the table you layer up:
a piece of 2” thick foam (like the kind of foam pad you’d get at Joann Fabrics), cut to the same size as the inner dimensions of your screen
black paper to cover the foam (this also prevents light from bouncing around)
your coated screen
your transparency with your art on it, facedown on the back (print) side of the screen
a piece of glass (duct tape the edges so you don’t cut yourself)
From there your light source shines down on all of that and exposes the screen.
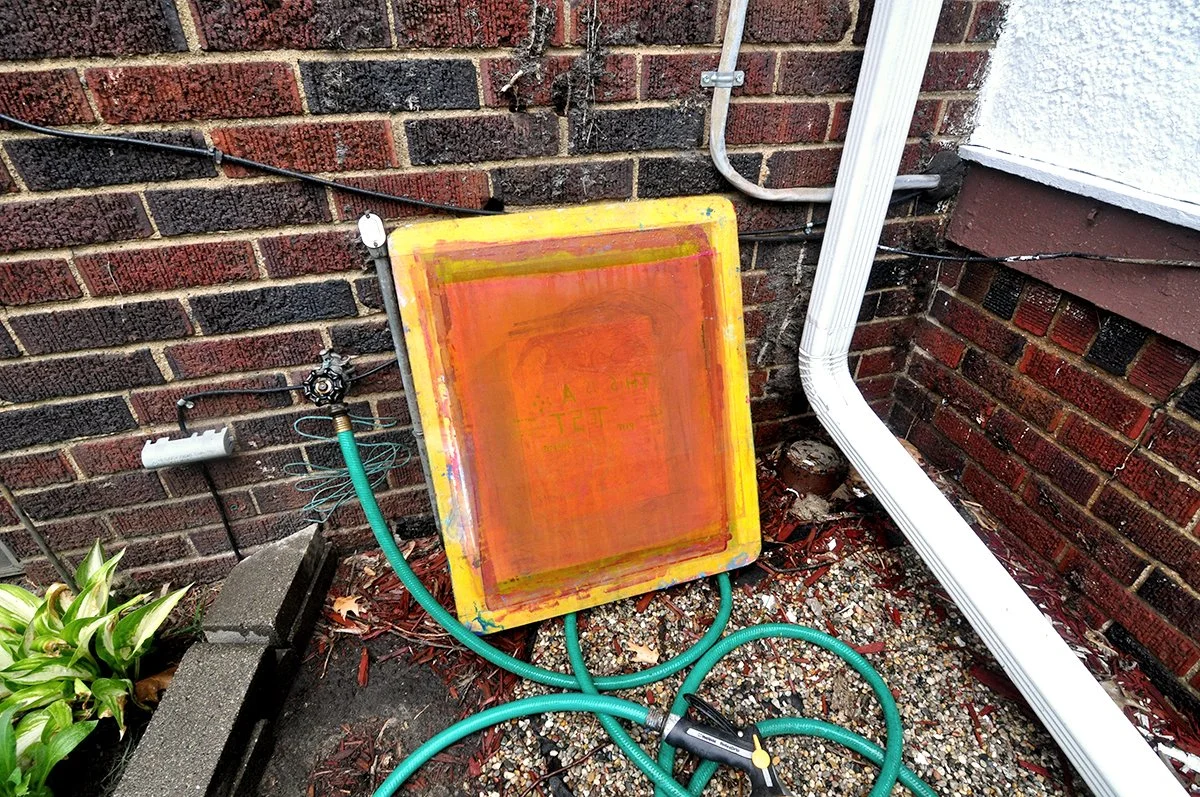
The first test screen that burned well! Eight-minute exposure time. I rinsed it outside with my garden hose.
I exposed a few test screens with a test transparency, and it took a few tries to get the exposure time right (~12 minutes). Through this process I did learn that my darkroom is light safe, because the emulsion didn’t harden while the screens sat in the darkroom for over 48 hours. And that is very good to know. I ran a dehumidifier for a bit while the screens dried — my basement is very moist (sorry, I know that word is gross), which isn’t an ideal climate for a darkroom, but it’s what I’ve got.
My test transparency.
For the test exposures, I made a transparency film using different black markers so I know what I can draw with and successfully burn screens. I used Sharpies, Papermate Flair pen, Pitt artist pens, Prismacolor pen, and my Cambio brush pen. I made a test print from my test screen, and almost all of the pens burned well except for the Prismacolor.
I realized while I was coating the screen that it’s been well over two years since I’ve done any screen burning/exposing or been in a screen printing darkroom. I also had flashbacks to all the times I talked to strangers at length about the sharp side and the dull side of the scoop coater in the screen printing classes I taught (the dull side applies a thicker coating of emulsion; for the printing I do — water-based ink on paper — I only use the sharp side). And I thought about all the screen printing darkrooms I’ve been in — the one in the Art Building at Wayne State University, the one at VGKids, the one at Ocelot Print Shop, the one I put together at POST when I had a studio space there... 🎵 Darkroom Memories 🎵
What did I need to put together my scrappy darkroom? Here’s my supply list — I already had most of the things.
Emulsion — I got Ulano LX-660 from Victory, though at the time I got their last quart, and they weren’t sure when they’d be getting more because there’s an emulsion shortage!
Scoop coater (already had) — this is the tool you use to coat the screen with emulsion
Piece of 2x4 to lean the screen against while coating (already had)
Table (already had)
Black paint to paint the table surface, to prevent light from bouncing around (already had)
Exposure light — I got a 500 watt portable work light, which is what I’ve used in the past with the same emulsion, so I know they work together (I also got extra bulbs)
Hooks to hang the exposure light on the wall (already had)
Extension cord to power the safelight and the exposure light (already had)
Safelight bulb — I got a tiny red bulb, but it’s way too dim
Thick curtains for a darkroom door (already had)
Glass the same size or a little bigger than your screen (already had, leftover from a windows restoration class I took/hosted last summer)
2” thick foam — I got a 22” x 22” piece from Joann Fabrics and cut it down
Black paper to cover the foam, to prevent light from bouncing around (already had)
Transparency with art printed or drawn on it (already had)
Water spray bottle to spray the screen when it’s done exposing — this stops the exposure and allows you (me) to walk over to where you’re going to rinse it out (for me this is to the backyard hose)
The darkroom functions as-is, but there are some improvements I want to make so it’s more user-friendly:
A brighter safelight — the one I got is tiny and it’s hard to see in there
A second table to put stuff on
Thicker glass, mostly to prevent breakage, and thicker glass will be a heavier weight to press the transparency onto the screen, which is good for fine lines and details!
Fix the ceiling fixture, which does not function — I am running the safelight and exposure bulb with an extension cord
Storage for coated screens, so I can coat a bunch and keep them protected while a screen is exposing in the same room
A more stable way for the exposure light to shine down (it’s hanging on hooks now) — I could build something with an arm, if that makes sense
Hopefully this is helpful to anyone out there interested in making their own DIY home screen printing darkroom. Feel free to reach out with any questions!
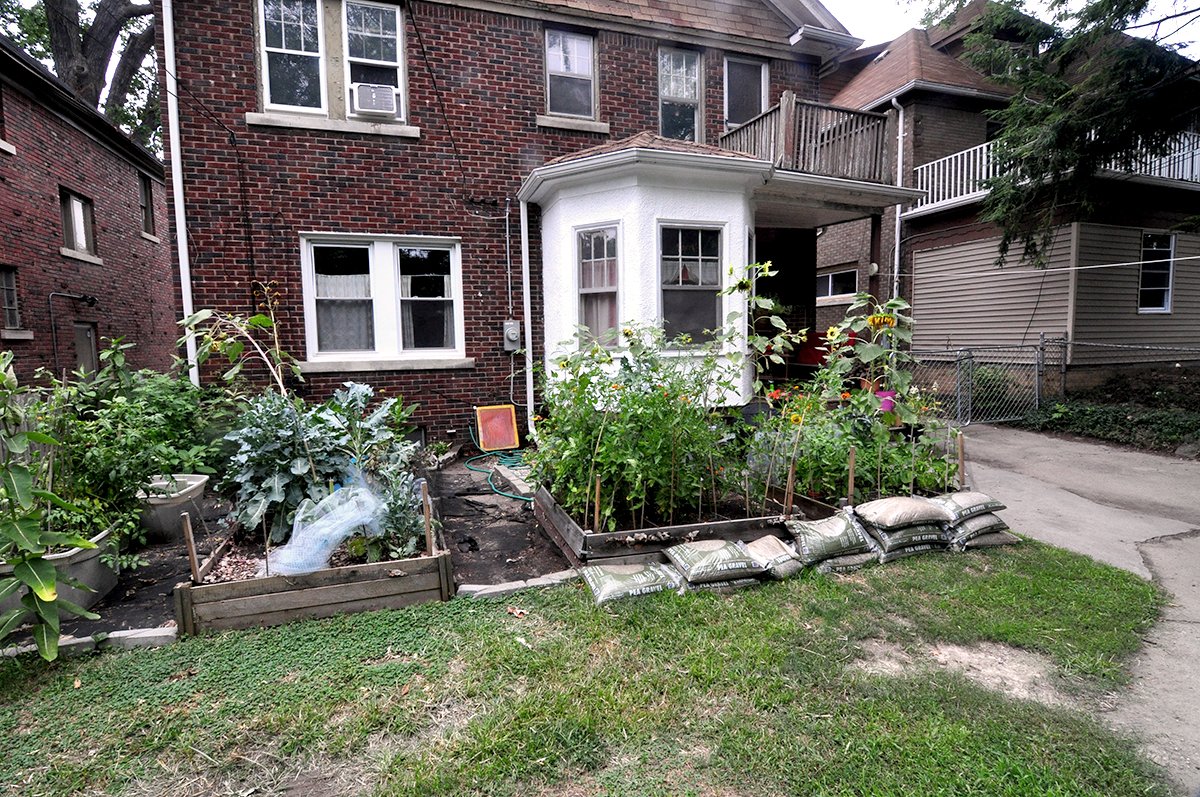
Backyard screen rinse wsg my garden!


