I’ve been experimenting with screen printing flowers from my garden — like the actual flowers themselves — and made some test prints using three different methods. Read on to see the results!
My backyard garden gets a little bigger each year, and I’ve been slowly incorporating more flowers into the landscape. When I first started gardening around 2007, I focused on food-only plants: tomatoes, jalapenos, basil, things like that. But in the last few years I’ve begun to experience the joy that flowers add to the garden. Just being a beautiful flower has value, too — it lifts the spirits!
Because gardening started to occupy more of my general mind space, flowers and plants have started to bleed into my art practice as well. As a result I started to experiment with different ways that I could make screen prints using the actual flowers and plants themselves, instead of representations of the flowers and plants (like drawings of them), and came up with three methods to try:
Ink up the flower/leaf and make impressions onto transparency film, to be exposed in a darkroom (positive image)
Use the flower/leaf and ink around it onto a transparency film, to be exposed in a darkroom (sort of a negative image)
Use the flower/leaf itself to expose in the darkroom
I used 230 and 305 mesh screens for each of these tests because I wanted as much fine detail as I could get.
Ink up the flower/leaf and make impressions onto transparency film, to be exposed in a darkroom
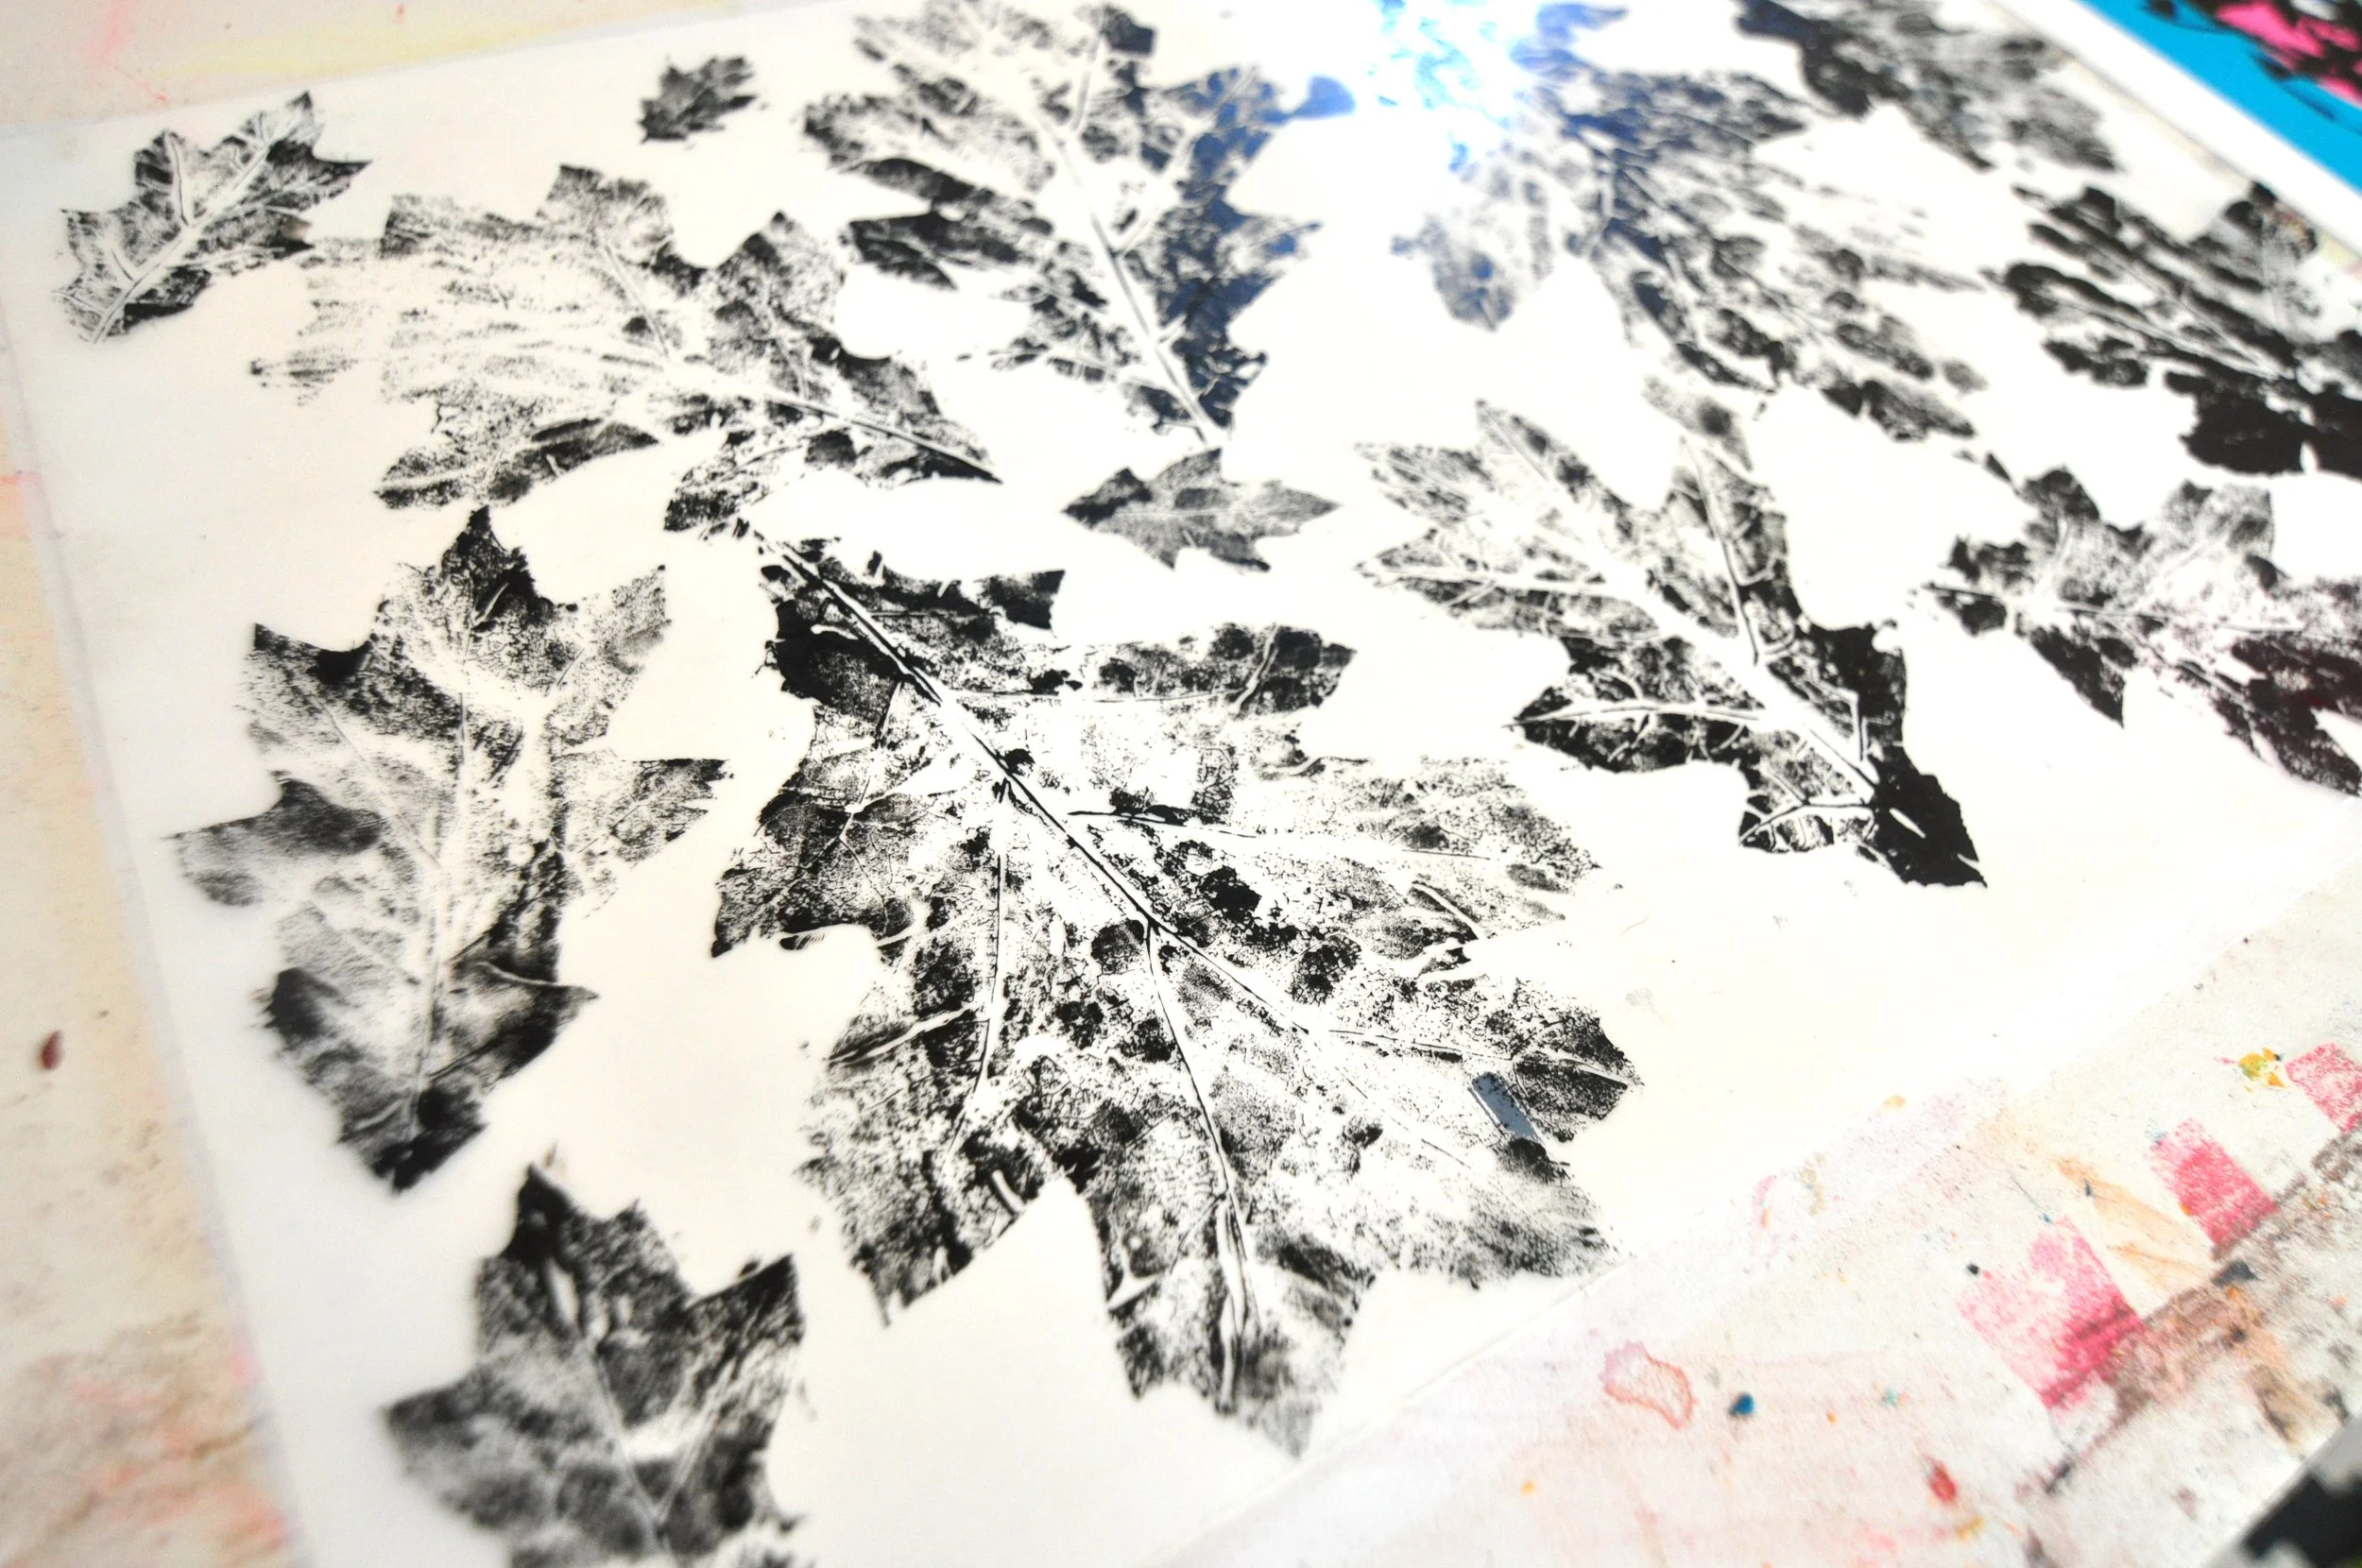
I had a young oak tree growing in my backyard in a place where it couldn’t stay (through a chain link fence and right below power lines), and the way it was growing through the fence I couldn’t relocate it, so I had to cut it down. Before I did I collected some of the leaves and made impressions of them using india ink onto transparency film. I brushed the ink all over the leaves and pressed them onto the film, filling it with impressions.
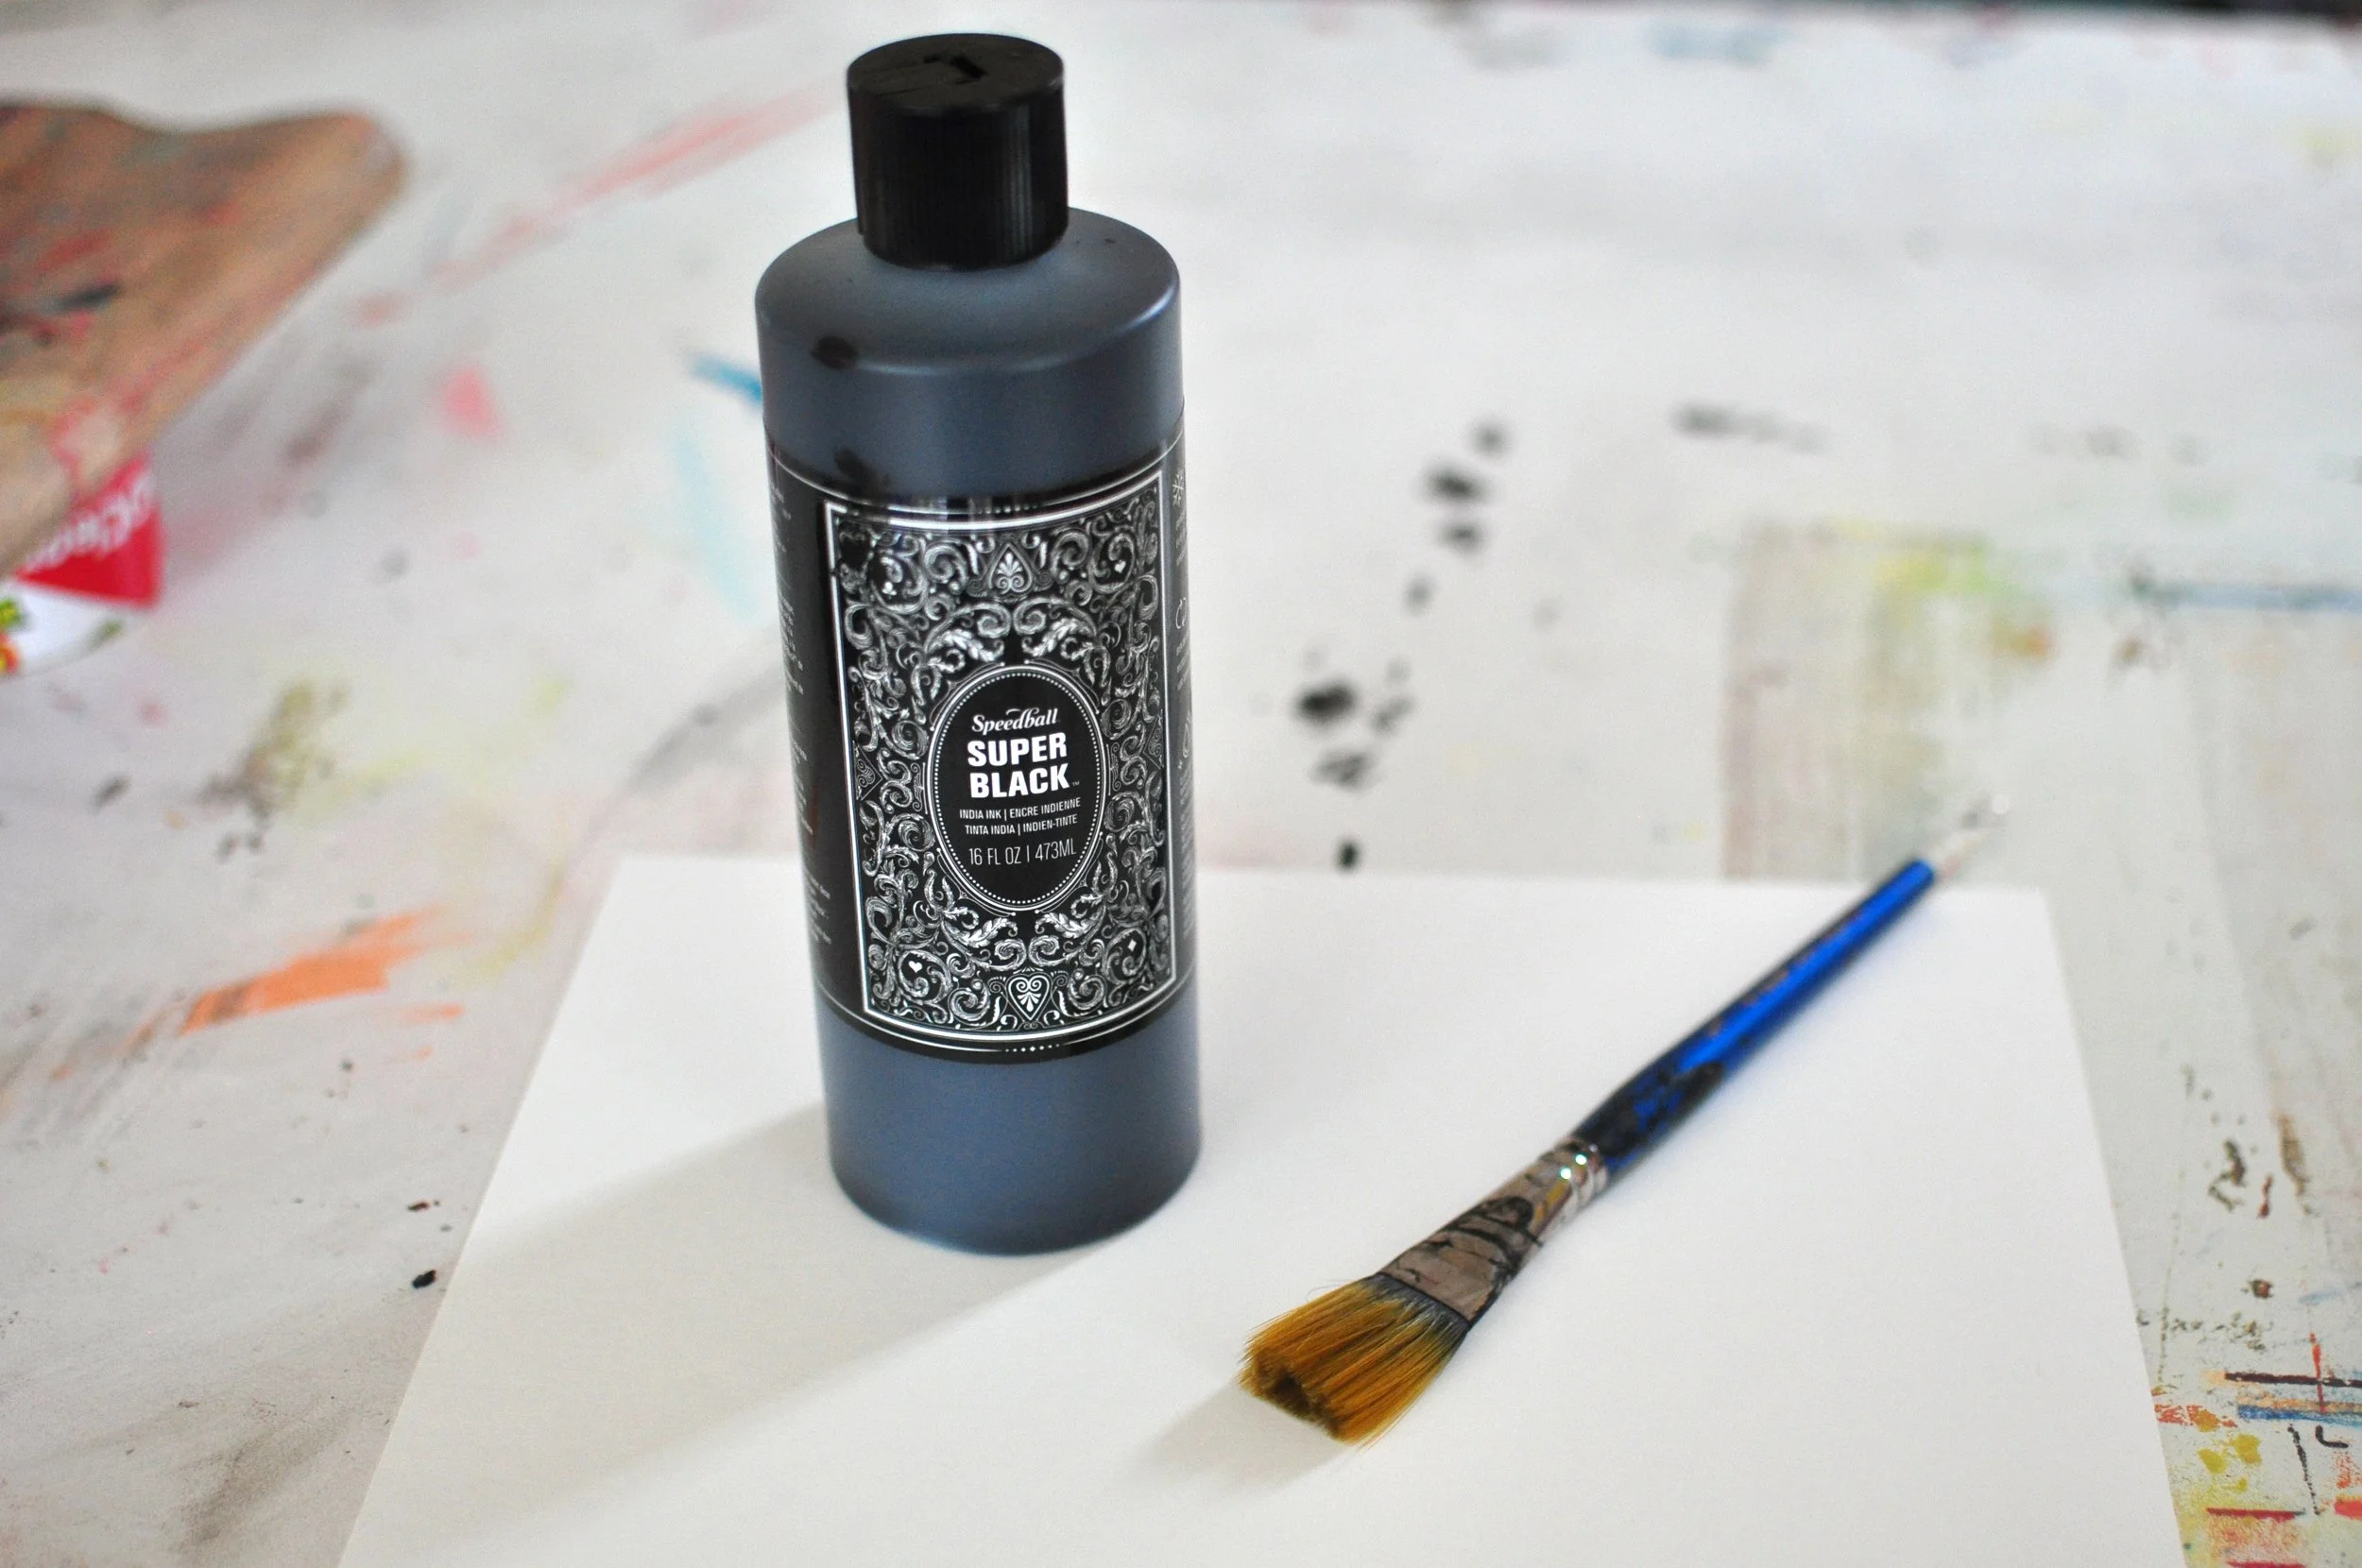
I use Speedball’s Super Black India Ink — it’s super opaque, dries fast, and is waterproof:
I then exposed a screen using the film and made some test prints. If you’re not familiar with screen printing and exposing screens, you can expose an image into a screen by blocking light in certain areas with black ink, like india ink. What’s black is what will print.
This is a pretty straightforward way to make screen prints using actual flowers and plants. You can make the impressions and save them for later, and you can cut up the impressions on the transparency and combine other elements with the print.
The next method is somewhat similar but has a different outcome.
Use the flower/leaf and ink around it onto a transparency film, to be exposed in a darkroom
Instead of inking the flower or leaf and making just a direct/positive impression of it, you can use the flower/leaf and ink around it, filling in the negative space with ink, which will make it print like a background. I used this method with a tithonia/Mexican sunflower from my garden and covered a 13” x 19” transparency, and then exposed a screen with it.
Here’s a test print of that one:
Another easy and straightforward method to screen print with flowers. I was surprised by the success of the last method.
Use the flower/leaf itself to expose in the darkroom
In addition to black ink, you can use actual objects to expose screens — you can use anything that will block light but also fit on the screen under glass in a kind of flat way. You want flat objects to get sharp edges around the image — if the object “floats” too far from the screen, the edges will be fuzzy.
I was curious if pressed flowers would expose well, if they would be flat enough, so I made my own flower press with two pieces of wood and four long bolts with washers and wing nuts.
I started pressing flowers and plants from my garden in the flower press. I put thin pieces of cardboard between each layer and pressed them for about three weeks, tightening the bolts a little more every day.
Once they were pretty flat, I arranged them on a transparency and exposed a screen with them.
Then I made a test print! I used the “painting in the screen” method I’ve mentioned before to make the prints, so that different elements of the image could be different colors but with one pull of the squeegee.
Below is a closeup of how that print came out — check out those sharp edges! Even though the flowers weren’t paper-thin flat.
And I made another print of this screen on a sheet of transparency film and hung it in my studio window:
Overall I was excited by the results of all three methods, and really surprised by how well the pressed flower method came out. I’m going to keep playing around with flowers in the print studio.


