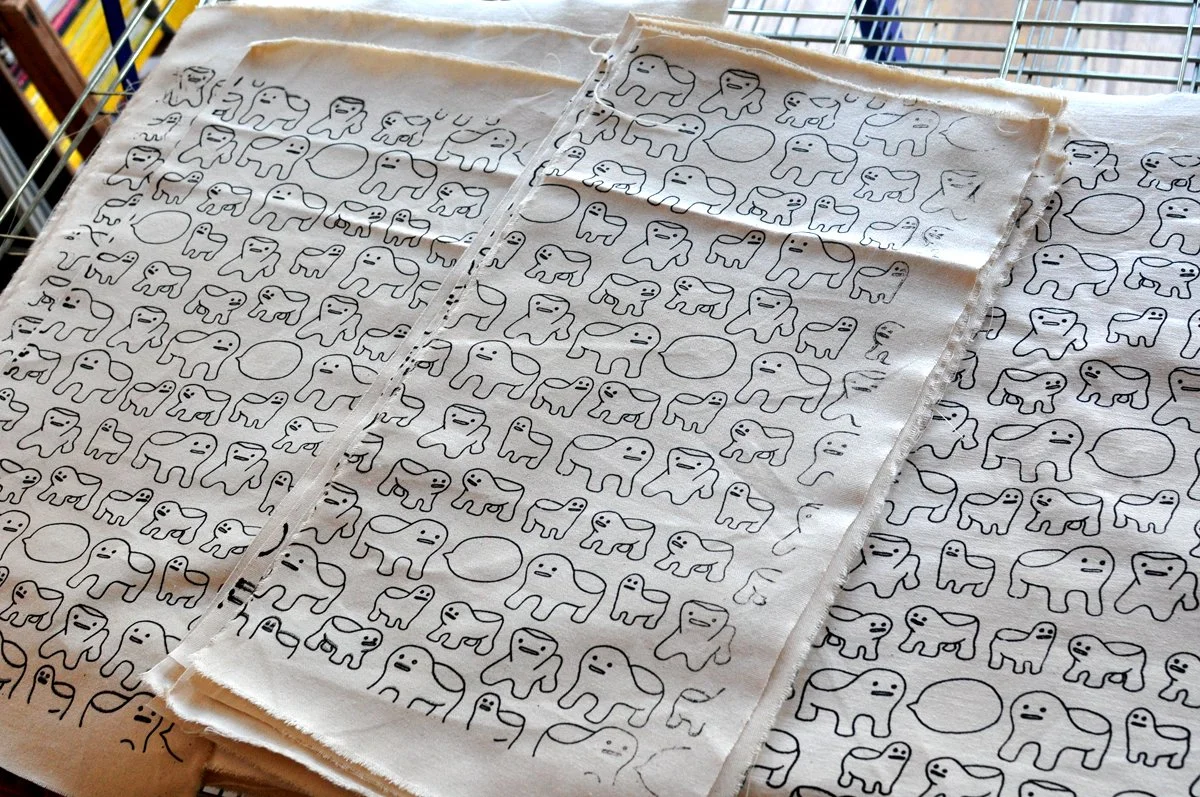
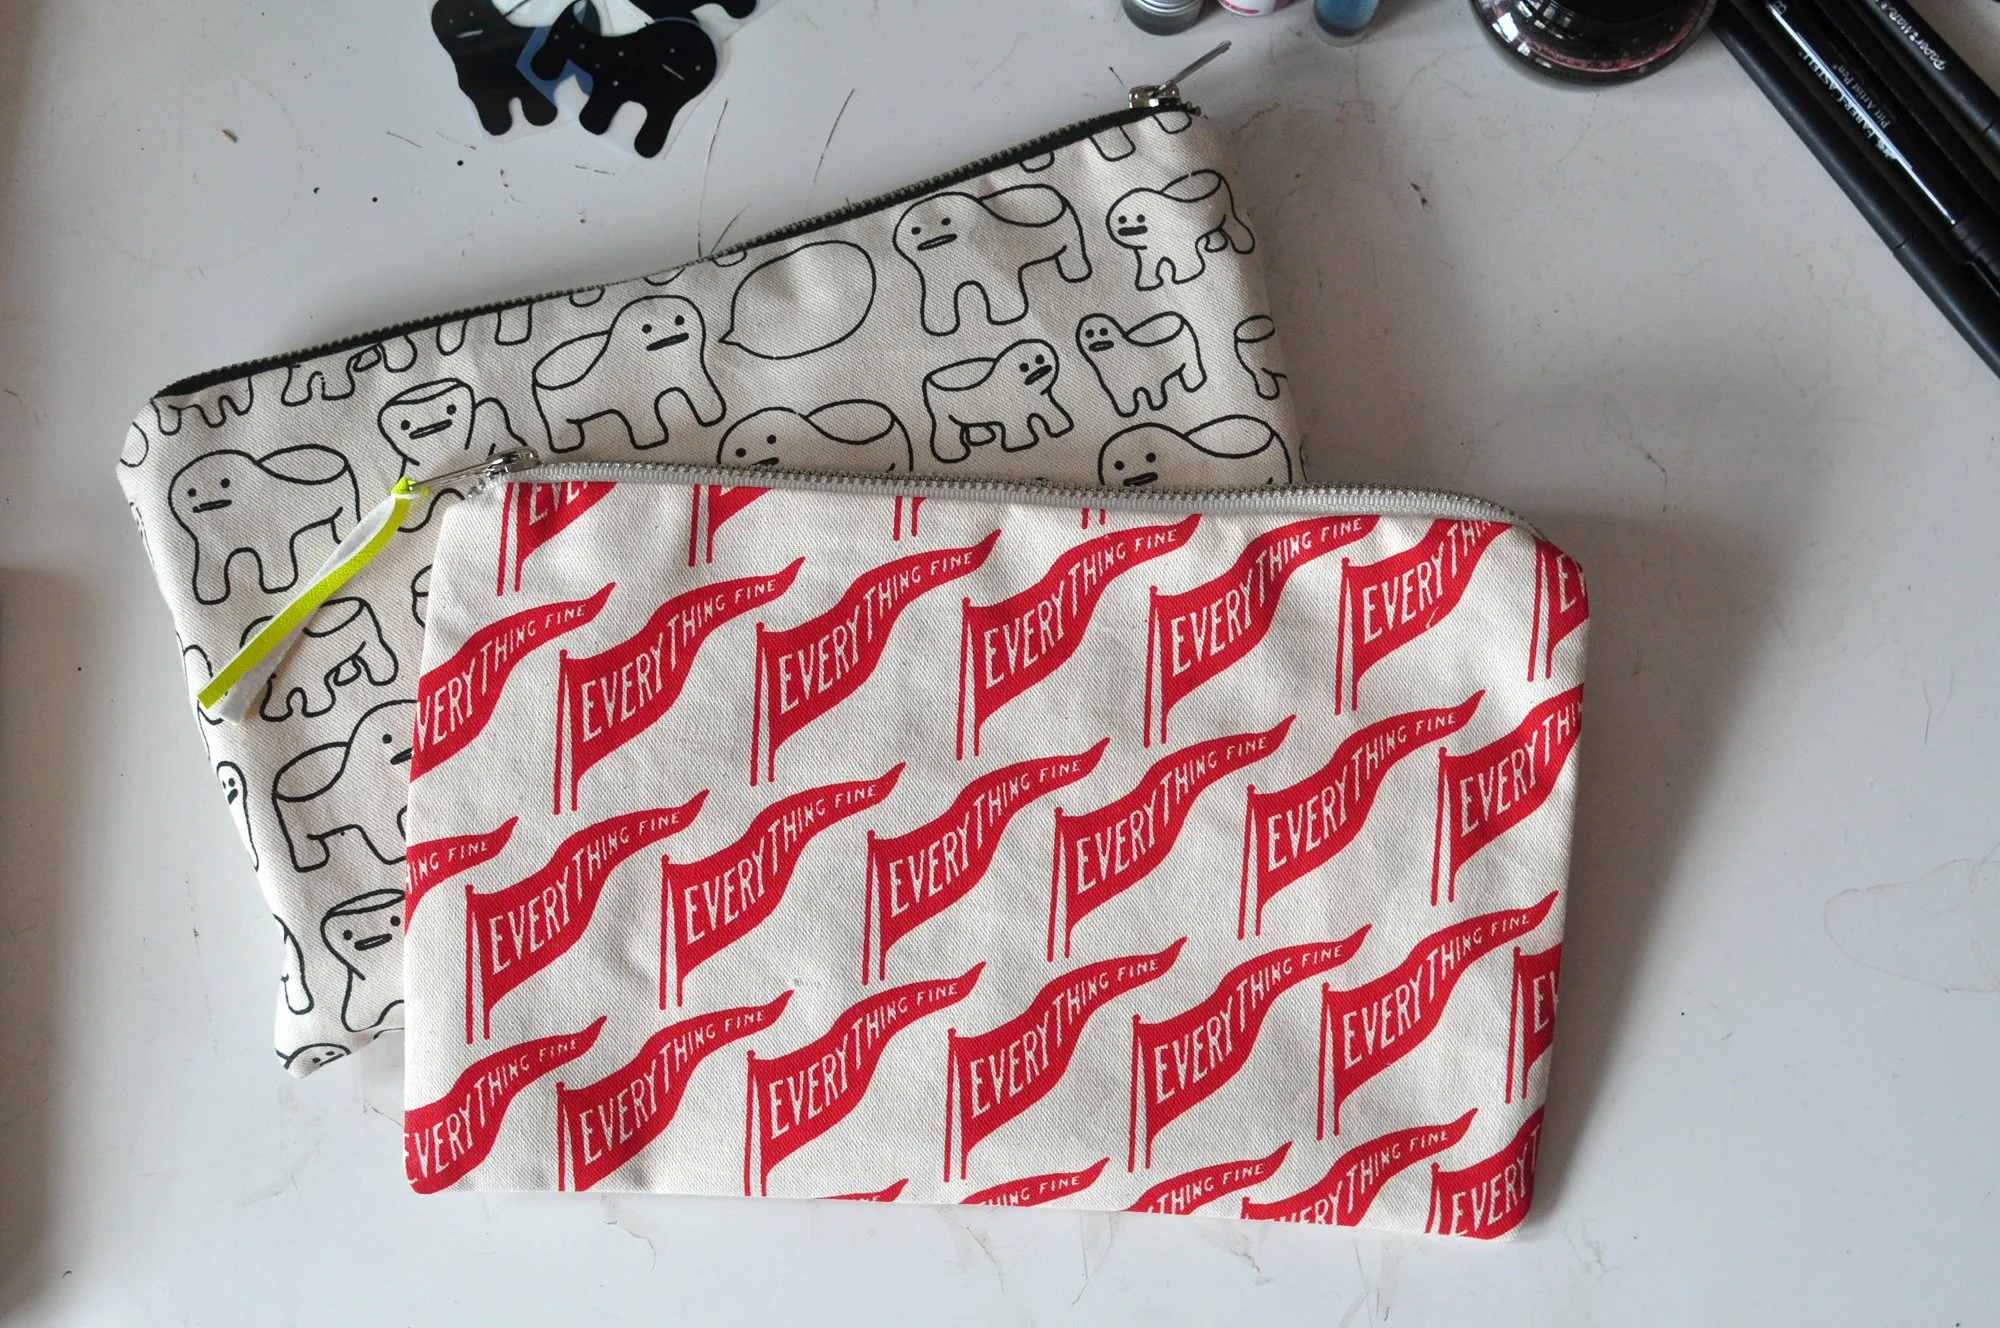
Screen printing on fabric vs. screen printing on paper — the basic process is the same but there are some differences in tools and technique that can make fabric printing easier. If you’re printing on fabric and having issues, the tips here might help!
I am primarily a paper screen printer, but I do occasionally print on fabric, and I have done some time printing t-shirts at a commercial print shop. It had been about four years since I printed on fabric when I recently made a couple of repeating patterns I wanted to try to print and sew into zipper bags.
The fabric I print on is a natural cotton drill I purchased a few years ago from Schott Textiles in Ohio. It’s a little heavier than canvas but has a similar tooth. I only use water-based ink but I have experience with plastisol. If you’re printing on fabric or tote bags and having issues, some of the tips below may be helpful!
Try a different squeegee
Sometimes all it takes for an easier time printing is the right squeegee. The squeegee should be a little longer than the art you are printing. Squeegees also come in different hardnesses and blade edges — for example, if you’re printing on fabric and not enough ink is going through, try a rounded edge squeegee (the middle squeegee in the photo). The rounded blade makes more contact with the screen and pushes more ink through.
Try a different mesh screen
I use either a 110 mesh or 160 mesh screen when I’m printing on fabric. You want a screen with more open mesh when you’re printing on fabric so more ink is pushed through and absorbed into the fabric. If you’re having trouble getting enough ink on the fabric or tote bag in one pass, try a screen with a lower mesh count.
Try coating the screen with the “dull” side of the scoop coater
If you’re exposing screens in a darkroom, when you’re coating the screen with emulsion, try using the dull side (vs. the sharp side) of the scoop coater. The dull side will deposit more emulsion, creating a bigger wall around your image, allowing more ink to fill the image when you’re flooding. Identifying the dull side vs. the sharp side is easy — just use your finger.
Try different flood techniques
Similar to the above, you can try different flood techniques to deposit more ink into your image area, like doing a thick flood, then a scrape flood, then another thick flood before you print.
Try using glue
If your fabric or tote bag is lifting when you print and sticking to the back of your screen, get some repositionable screen printing glue. I use Ecotex Super Tack pallet adhesive when I’m printing both paper and fabric. Drop a few drops on the surface you’re printing on and spread it with an old credit card, let the glue dry, and your substrate stays stuck to the table and not the screen while you print. Ecotex Super Tack is non-permanent and water-based, so it’s easy to clean up.
If you’re struggling with screen printing on fabric, hopefully these tips will help! You can also try a combo of tips, like try a rounded edge squeegee with different flood techniques and a 110 mesh screen (etc.) and see if that solves the issue you are having. Take notes while you’re trying different things so you’ll remember in the future what works. And feel free to reach out with questions!


