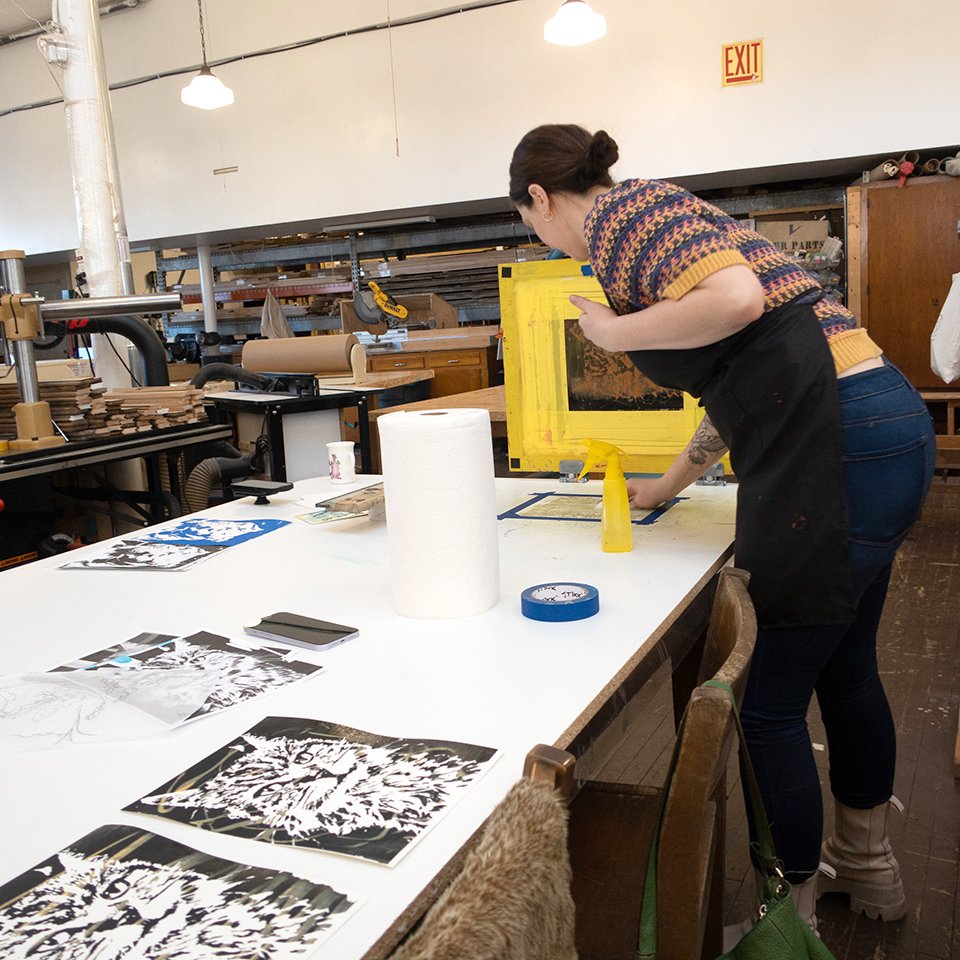
Hello! In this post I detail the process I use to teach my Screen Printed Pet Portrait Workshop at POST. How do we go from a printout of a photo to a drawing to a screen print? Read on to find out!
Photo by Alexis Rosa Caldero/POST
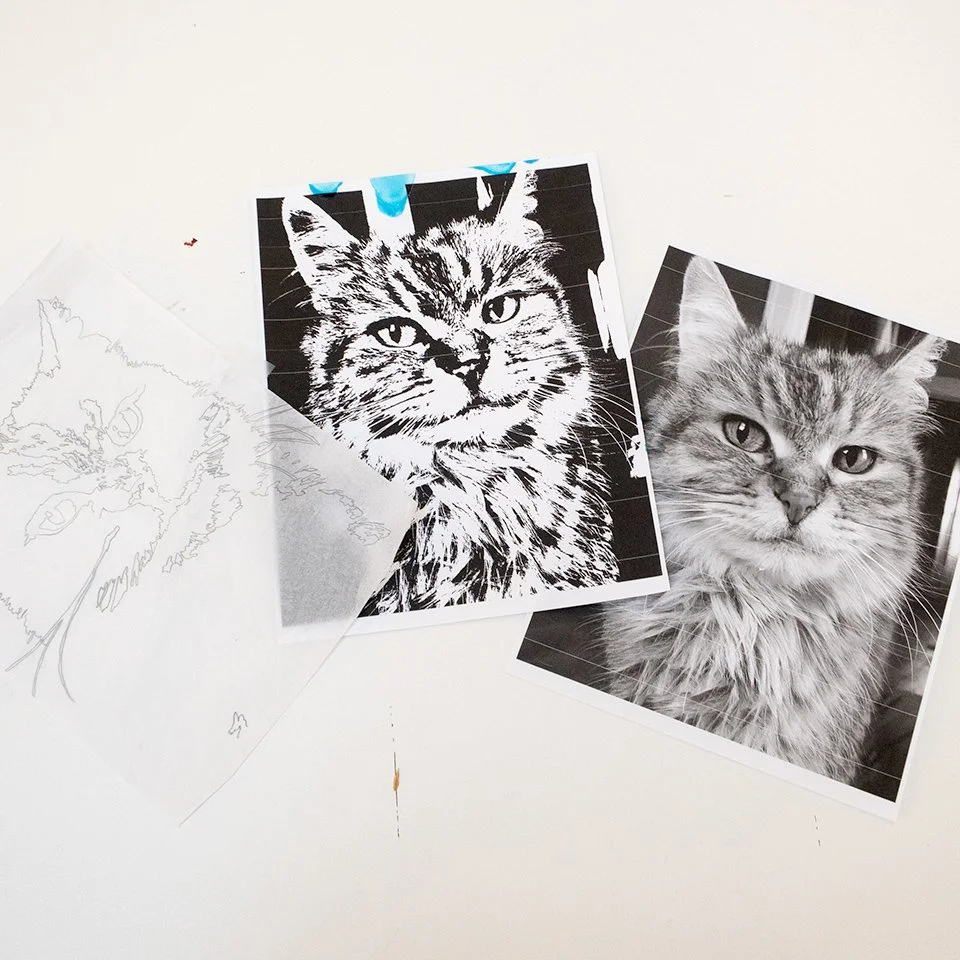
We provide all of the materials for the workshop (screens, squeegees, ink, paper, tape — everything!) — the only thing students need to do ahead of time is email a photograph of the pet to Alexis, POST’s workshop coordinator. Alexis will make two printouts of the photograph that will be used as a guide for making the image to be printed.
Students work with both a photographic printout and a posterized printout of the pet to create their image.
Photo by Alexis Rosa Caldero/POST
The first thing we do in the workshop is introduce ourselves and talk about our pets. This may or may not be the best part of the workshop. :)
Then we work on making our screens. We use the printouts of the photograph as a guide to trace and draw the pet’s portrait onto tracing paper. I bring my lightbox and provide help with drawing for anyone who needs it. For students not comfortable with drawing, we also provide a posterized version of the photograph so they can skip the drawing part and move right on into painting the image onto the screen with drawing fluid.
Students can use the posterized version of the printout to skip the drawing step and go right into painting the image in their screen.
Photo by Alexis Rosa Caldero/POST
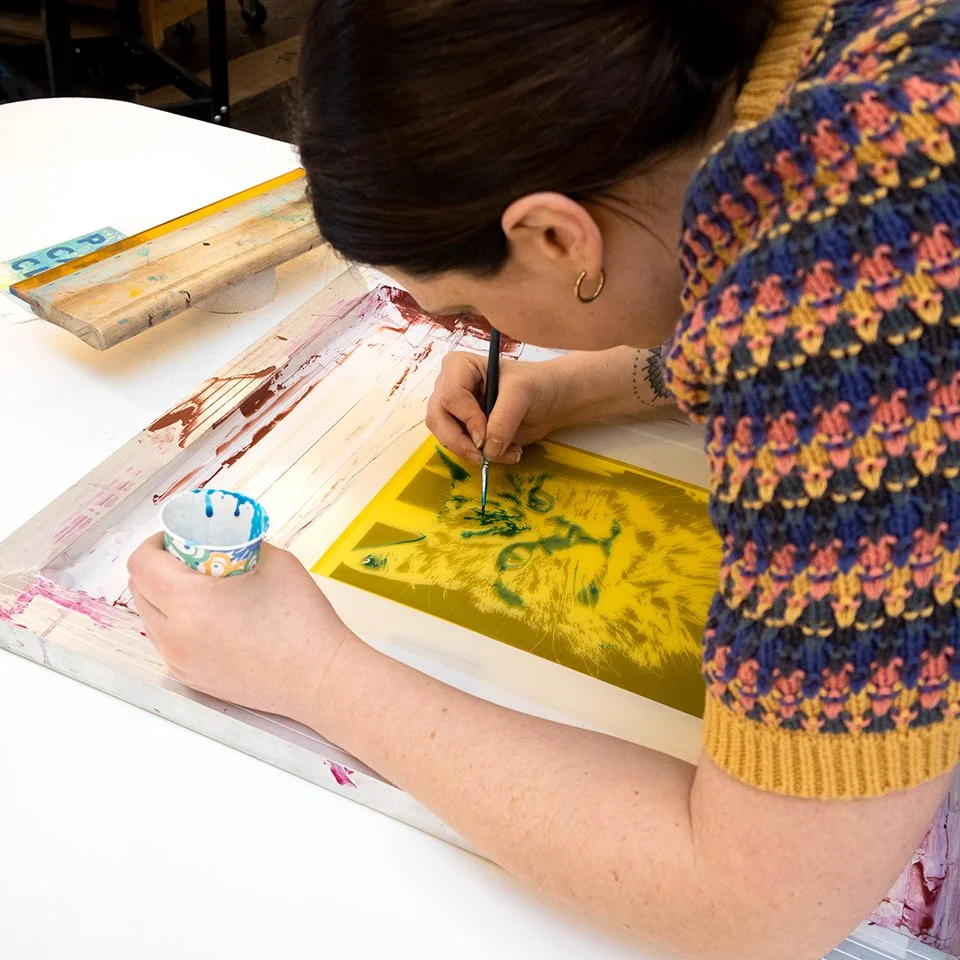
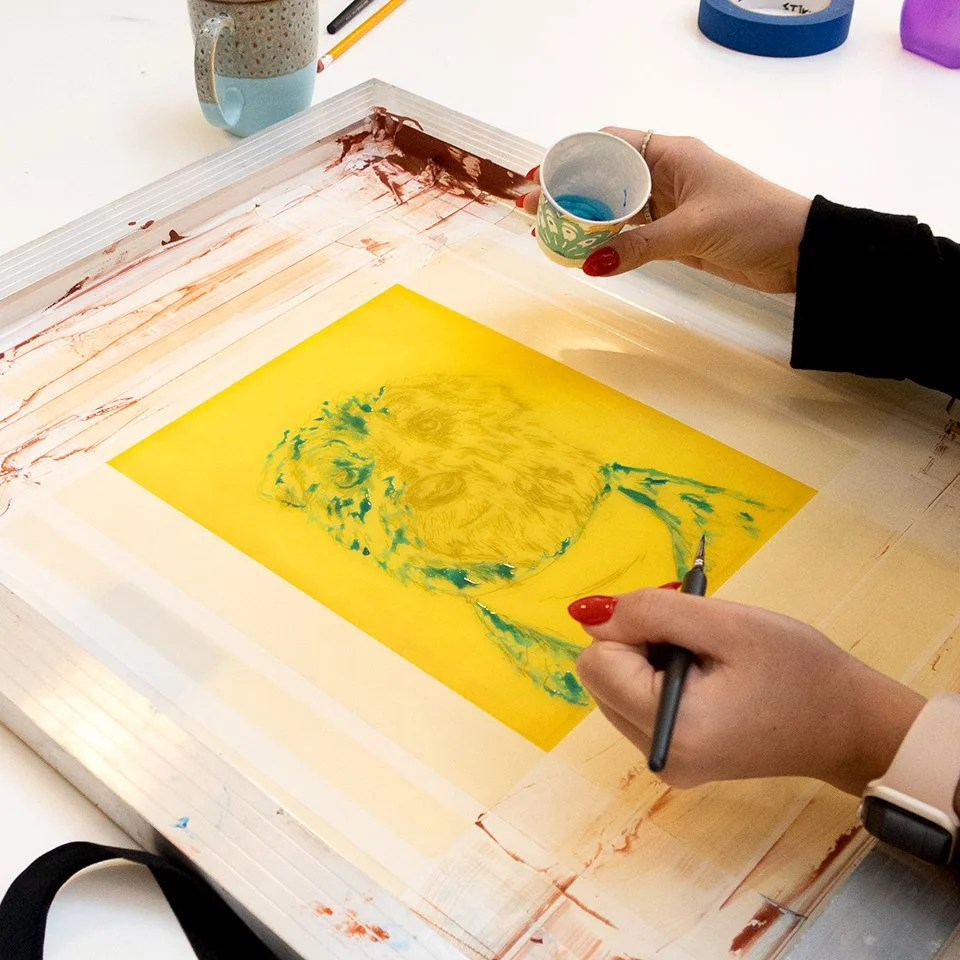
For those that choose to draw, the drawings start in pencil and end in black ink so that the drawing is visible under the screen. Once it’s done, the drawing goes under the screen and acts as a guide for the student as they paint that image onto the screen using drawing fluid (aka “blue goo”). We have a wide variety of brushes for this step — from super super fine to very thick and fat.
Students paint their drawings into the screen with drawing fluid and use their drawing as a guide.
Photo by Alexis Rosa Caldero/POST
Once the drawing is painted on the screen, the screen hangs out in front of a fan for a bit to dry. This is a good time for students to eat snacks and mingle (POST provides coffee, tea, and little things to eat), think about their ink colors, and shop the store.
Screens drying in front of a fan.
Photo by Alexis Rosa Caldero/POST
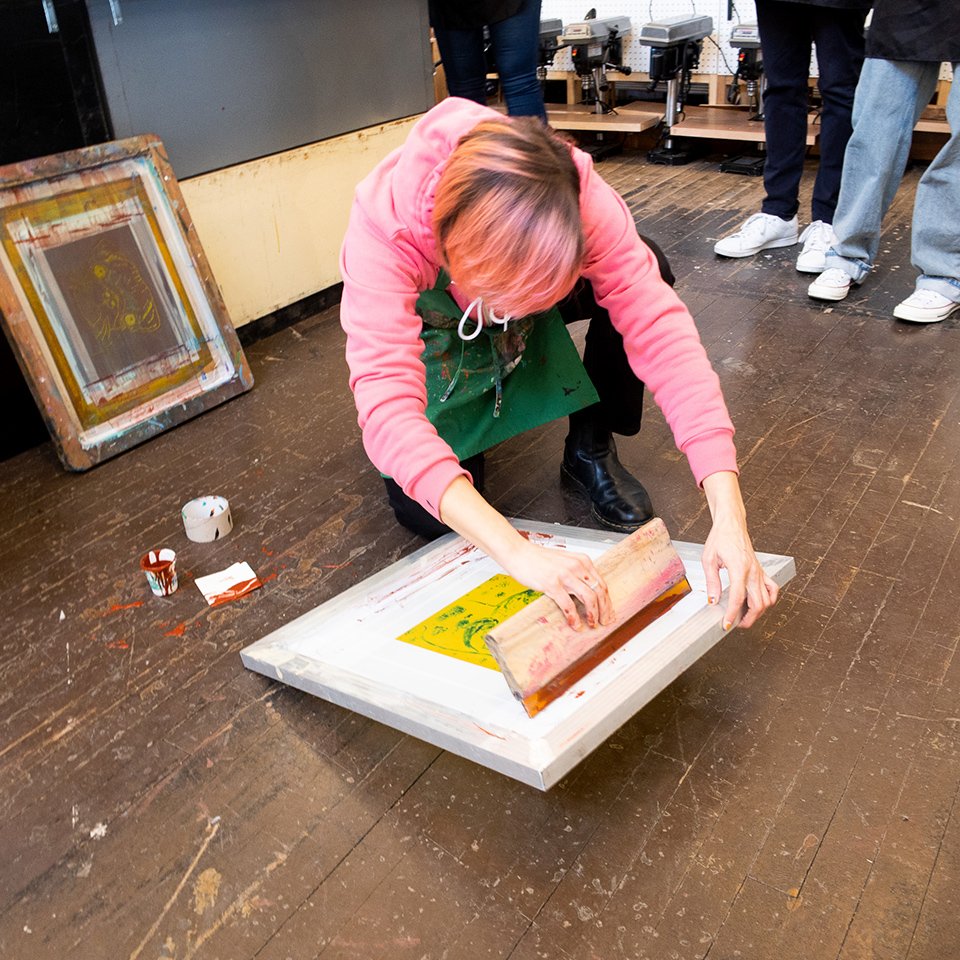
After the drawing fluid is dry, I run a layer of screen filler (aka “red stuff”) over the screen (for some reason I always do this on the floor, I don’t know why). Drawing fluid + screen filler work together as a kind of resist process, where the drawing fluid resists the screen filler, keeping those areas open in the screen for ink to go through. The screen filler fills in the areas around it, blocking ink. With the drawing fluid, I always say, “What you paint, prints.” Anything you lay down with the blue drawing fluid will be a part of your printed image.
Me applying screen filler (aka “red stuff”) to a screen.
Photo by Alexis Rosa Caldero/POST
Once the screen filler is dry, we take our screens to the washout room and rinse the drawing fluid away. And now, finally, we’re ready to print!
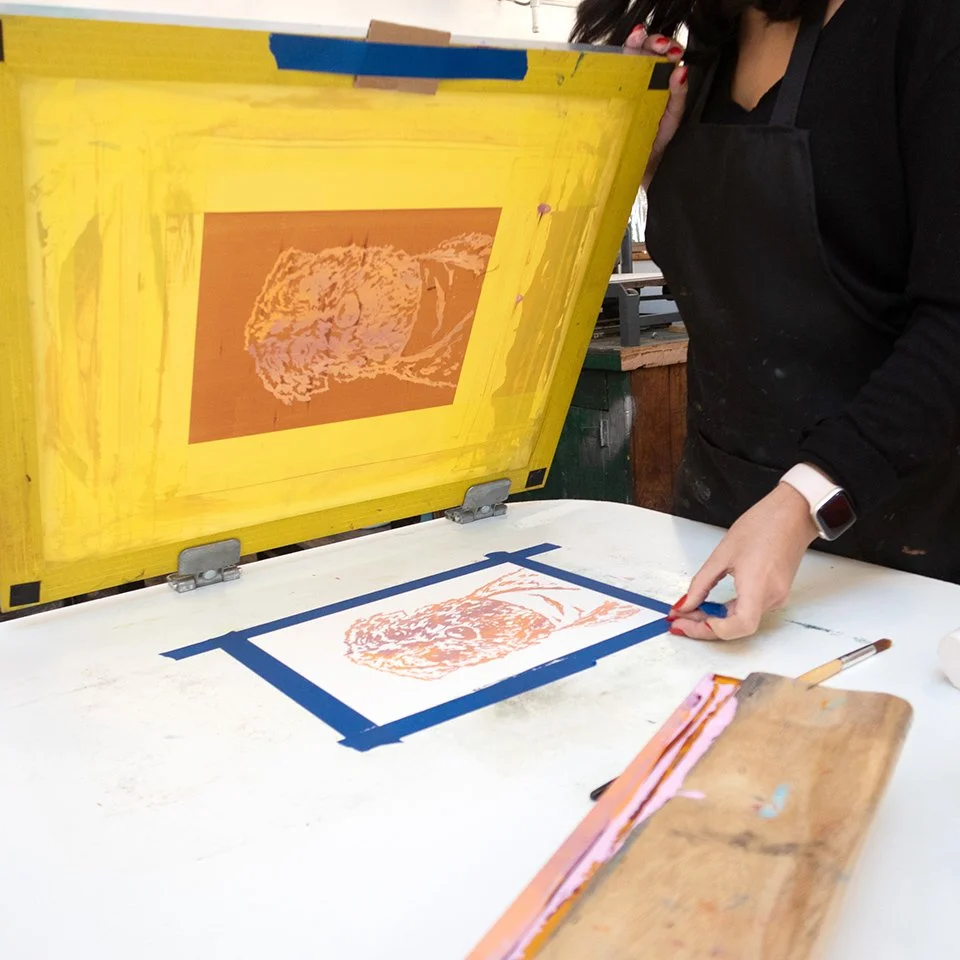
The first half of the workshop is very quiet, as everyone is pouring their energies into their drawing, but once we start printing, things get louder and more lively. I demonstrate how to register the screen, how to print, and how to do fun things like split fountains, marbling, and painting in the screen to maximize colors with our one screen. I also demonstrate less fun things like how to clean up.
A student prints portraits of their cat.
Photo by Alexis Rosa Caldero/POST
Everyone dives into printing and it’s great to see the different results people get and watch them experiment with what is often a new process to them. And I love to see students getting excited about screen printing. This is a very affordable and accessible process that could be easily done at home or in a small studio. I give students a four-page mini zine that provides info about the materials we used in the workshop and how to get started with screen printing on their own.
Students can maximize colors using just one screen with split fountain, marbling, and painting techniques.
Photo by Alexis Rosa Caldero/POST
Students go home with a set of 8 prints of a beloved pet that they made themselves from start to finish. And POST offers a 20% off discount on their handmade Mutual Adoration frames for students of this workshop, so students could also go home with something ready to hang at home or give as a gift.
Feel free to contact me if you have questions about this workshop! All upcoming sessions will be posted on my Workshops page.


